|
|
||||||||||
|
Promax Imaging Ltd 14-16 Uttoxeter Rd Tel: Fax:
|
||||||||||
 |
|
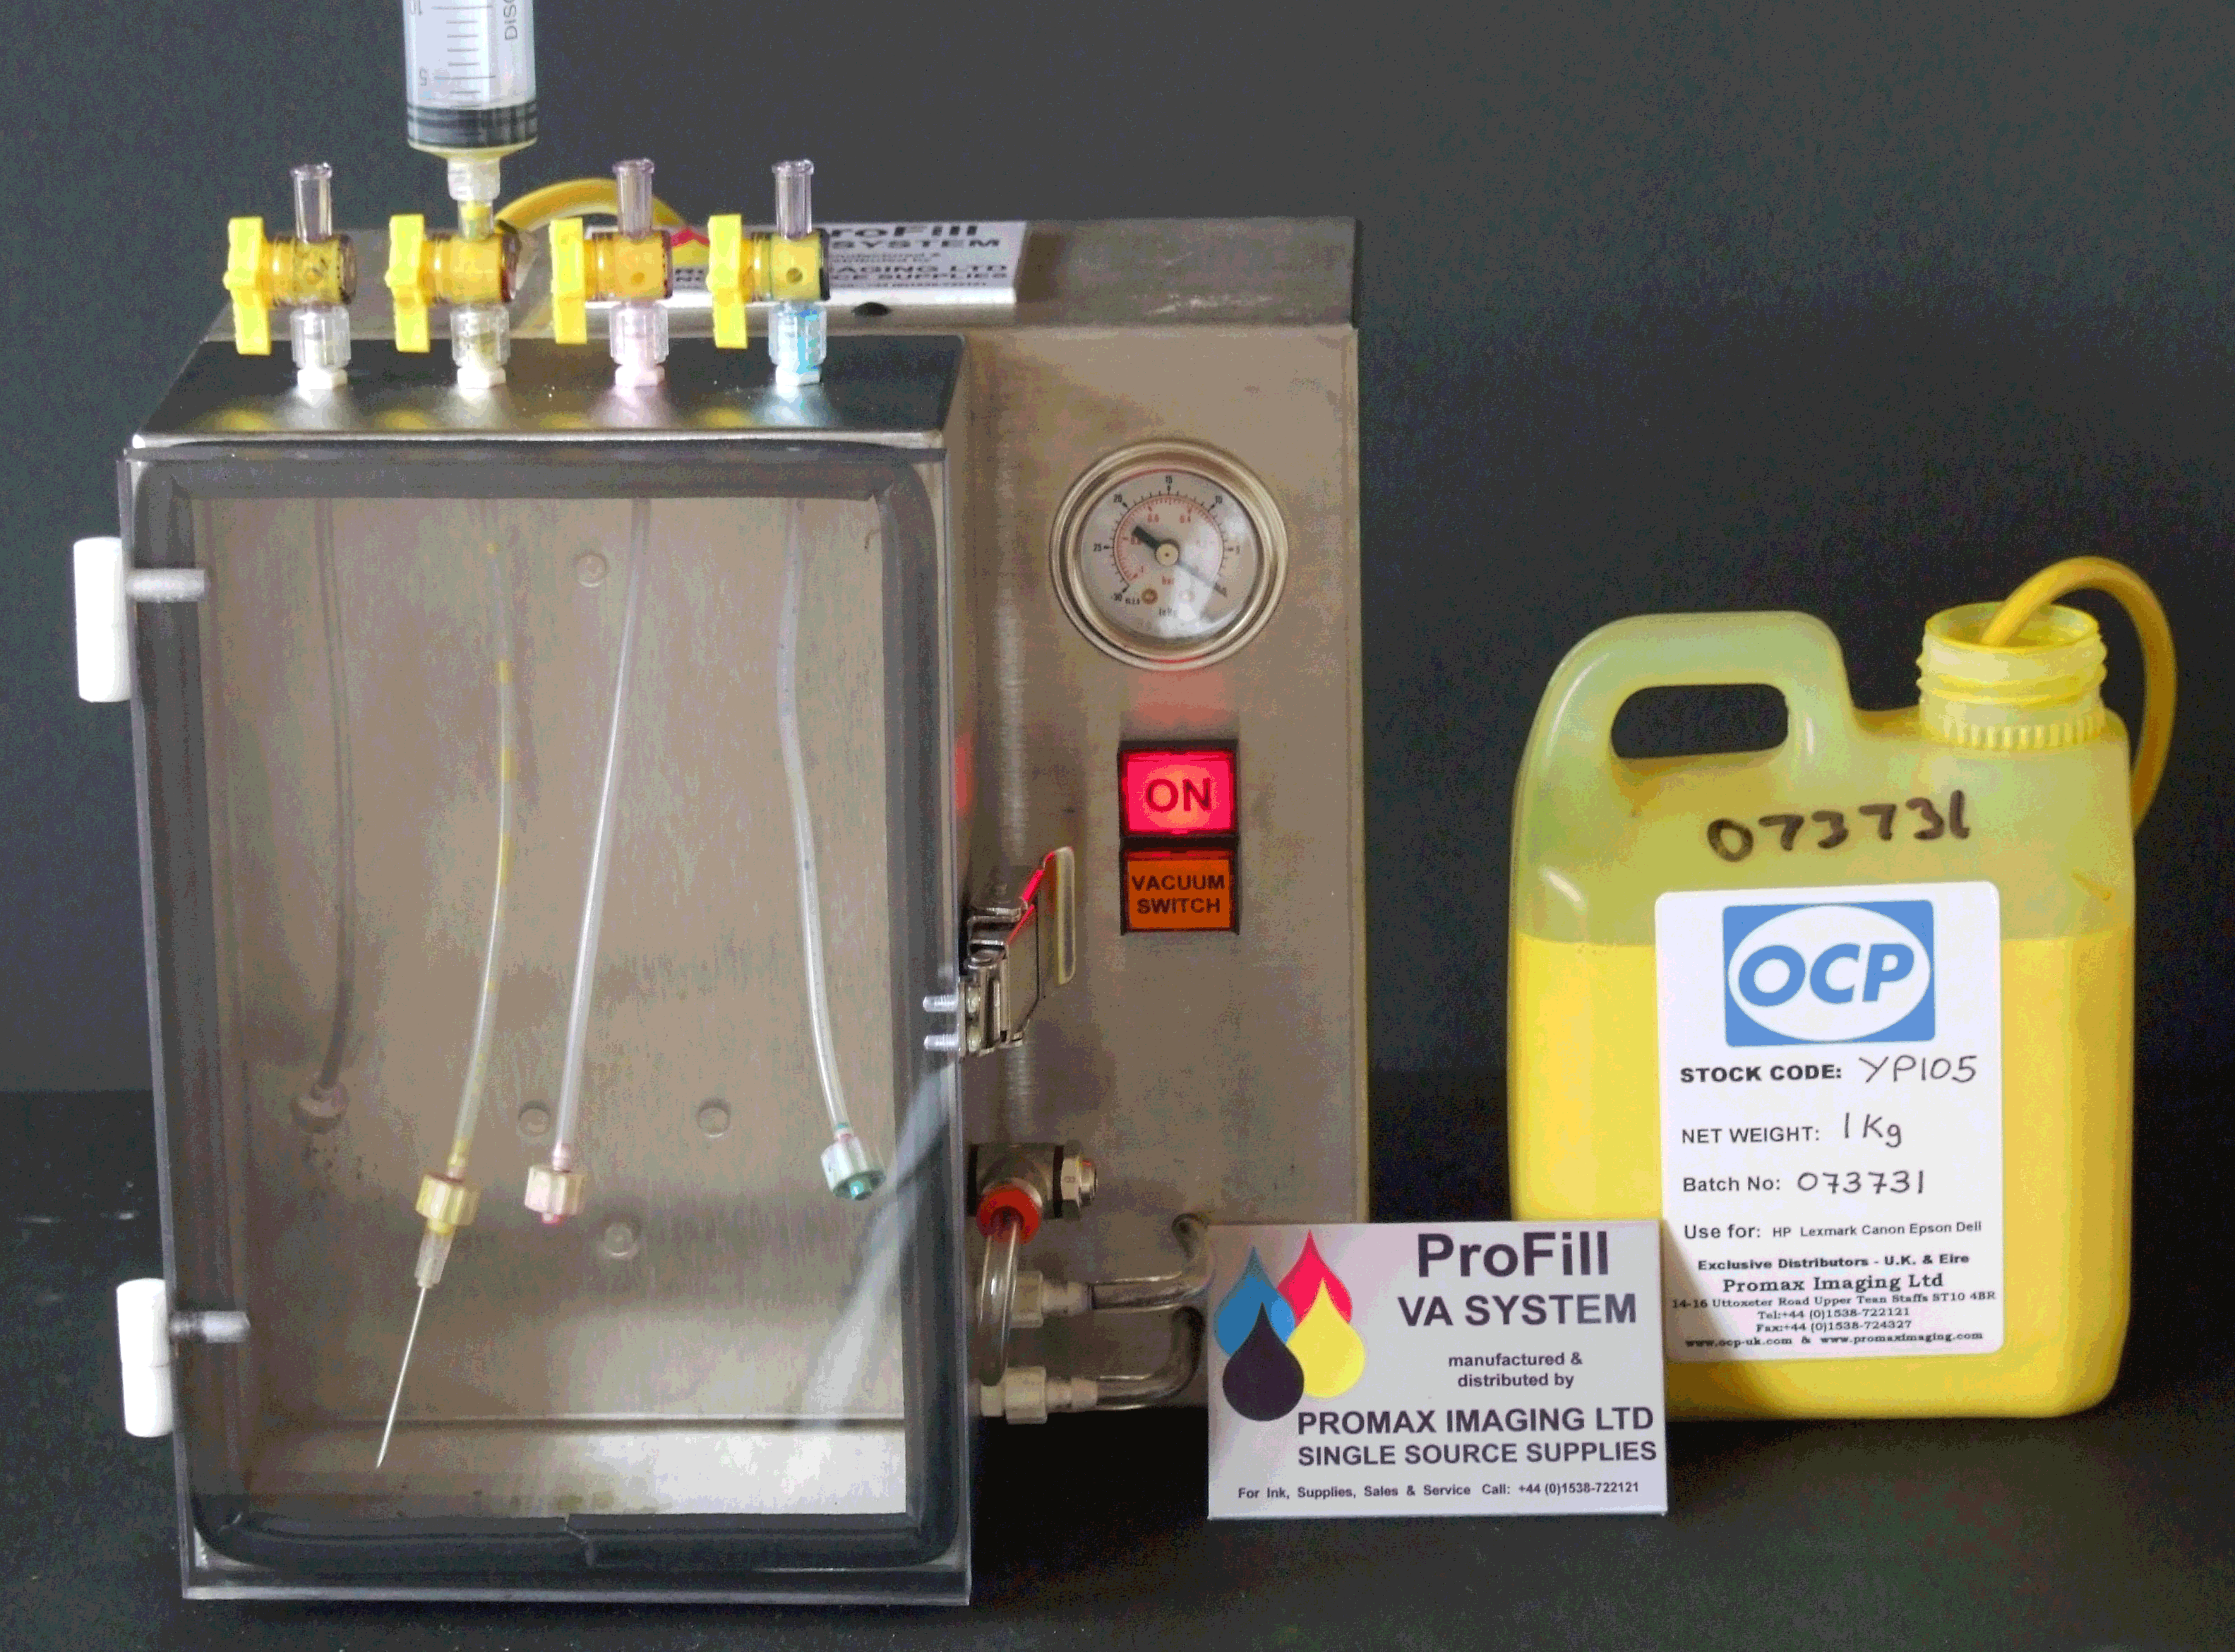
Machine filling of the genuine Epson MkII cartridge makes the process a lot easier and much faster to process batches of cartridges. The Professor has tested several machines using both vacuum and non-vacuum filling methods. As with all things, each type of filling method has differences which can influence the right choice of machine for you. The non vacuum machines can produce the cartridges faster but uses more ink, although the excess ink can be recovered for subsequent re-use. The vacuum machines use less ink in the filling process, and those using universal vacuum chambers like the Promax VA System & Trio, and the R-JetTek SelectJet & SabreJet have the advantage of almost instantaneous ink changes, and the ability to refill a whole colour set in one operation. Throughout this lecture, the only colour being filled is yellow. Simply as this is the colour that shows the most detail when photographed. Note that the cartridges shown in this lecture are partially stripped down so that you can see what is happening inside. As they say, “Please do not do this at home”. Vacuum machine filling Although the vacuum filling machine featured in this lecture is the Promax Imaging Ltd VA System, the instructions are the same for all machines that use a universal remote filling cradle. Machines that use cartridge specific cradles like the Promax Imaging TRIO or the R-JetTek Fill & Prime 2i, require the addition of a universal remote cradle to utilise the vacuum facility. IT IS IMPORTANT TO ENSURE THAT THE MACHINE AND FILLING CRADLE ARE LEVEL. |
|
|
||||||||||||||||||||
 |
|||||||||||||||||||||||
|
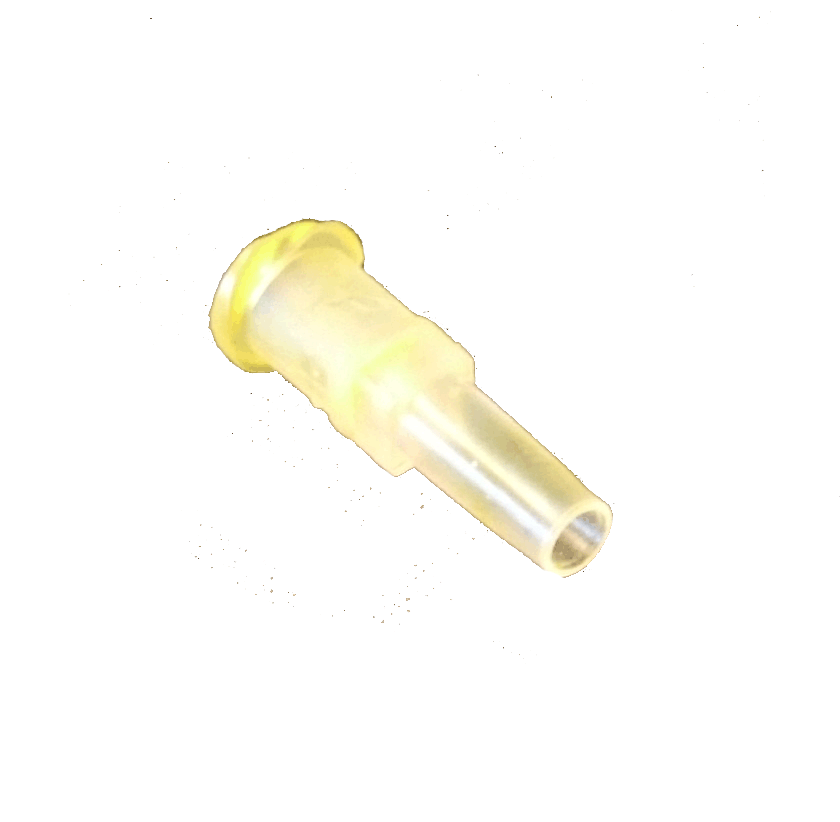
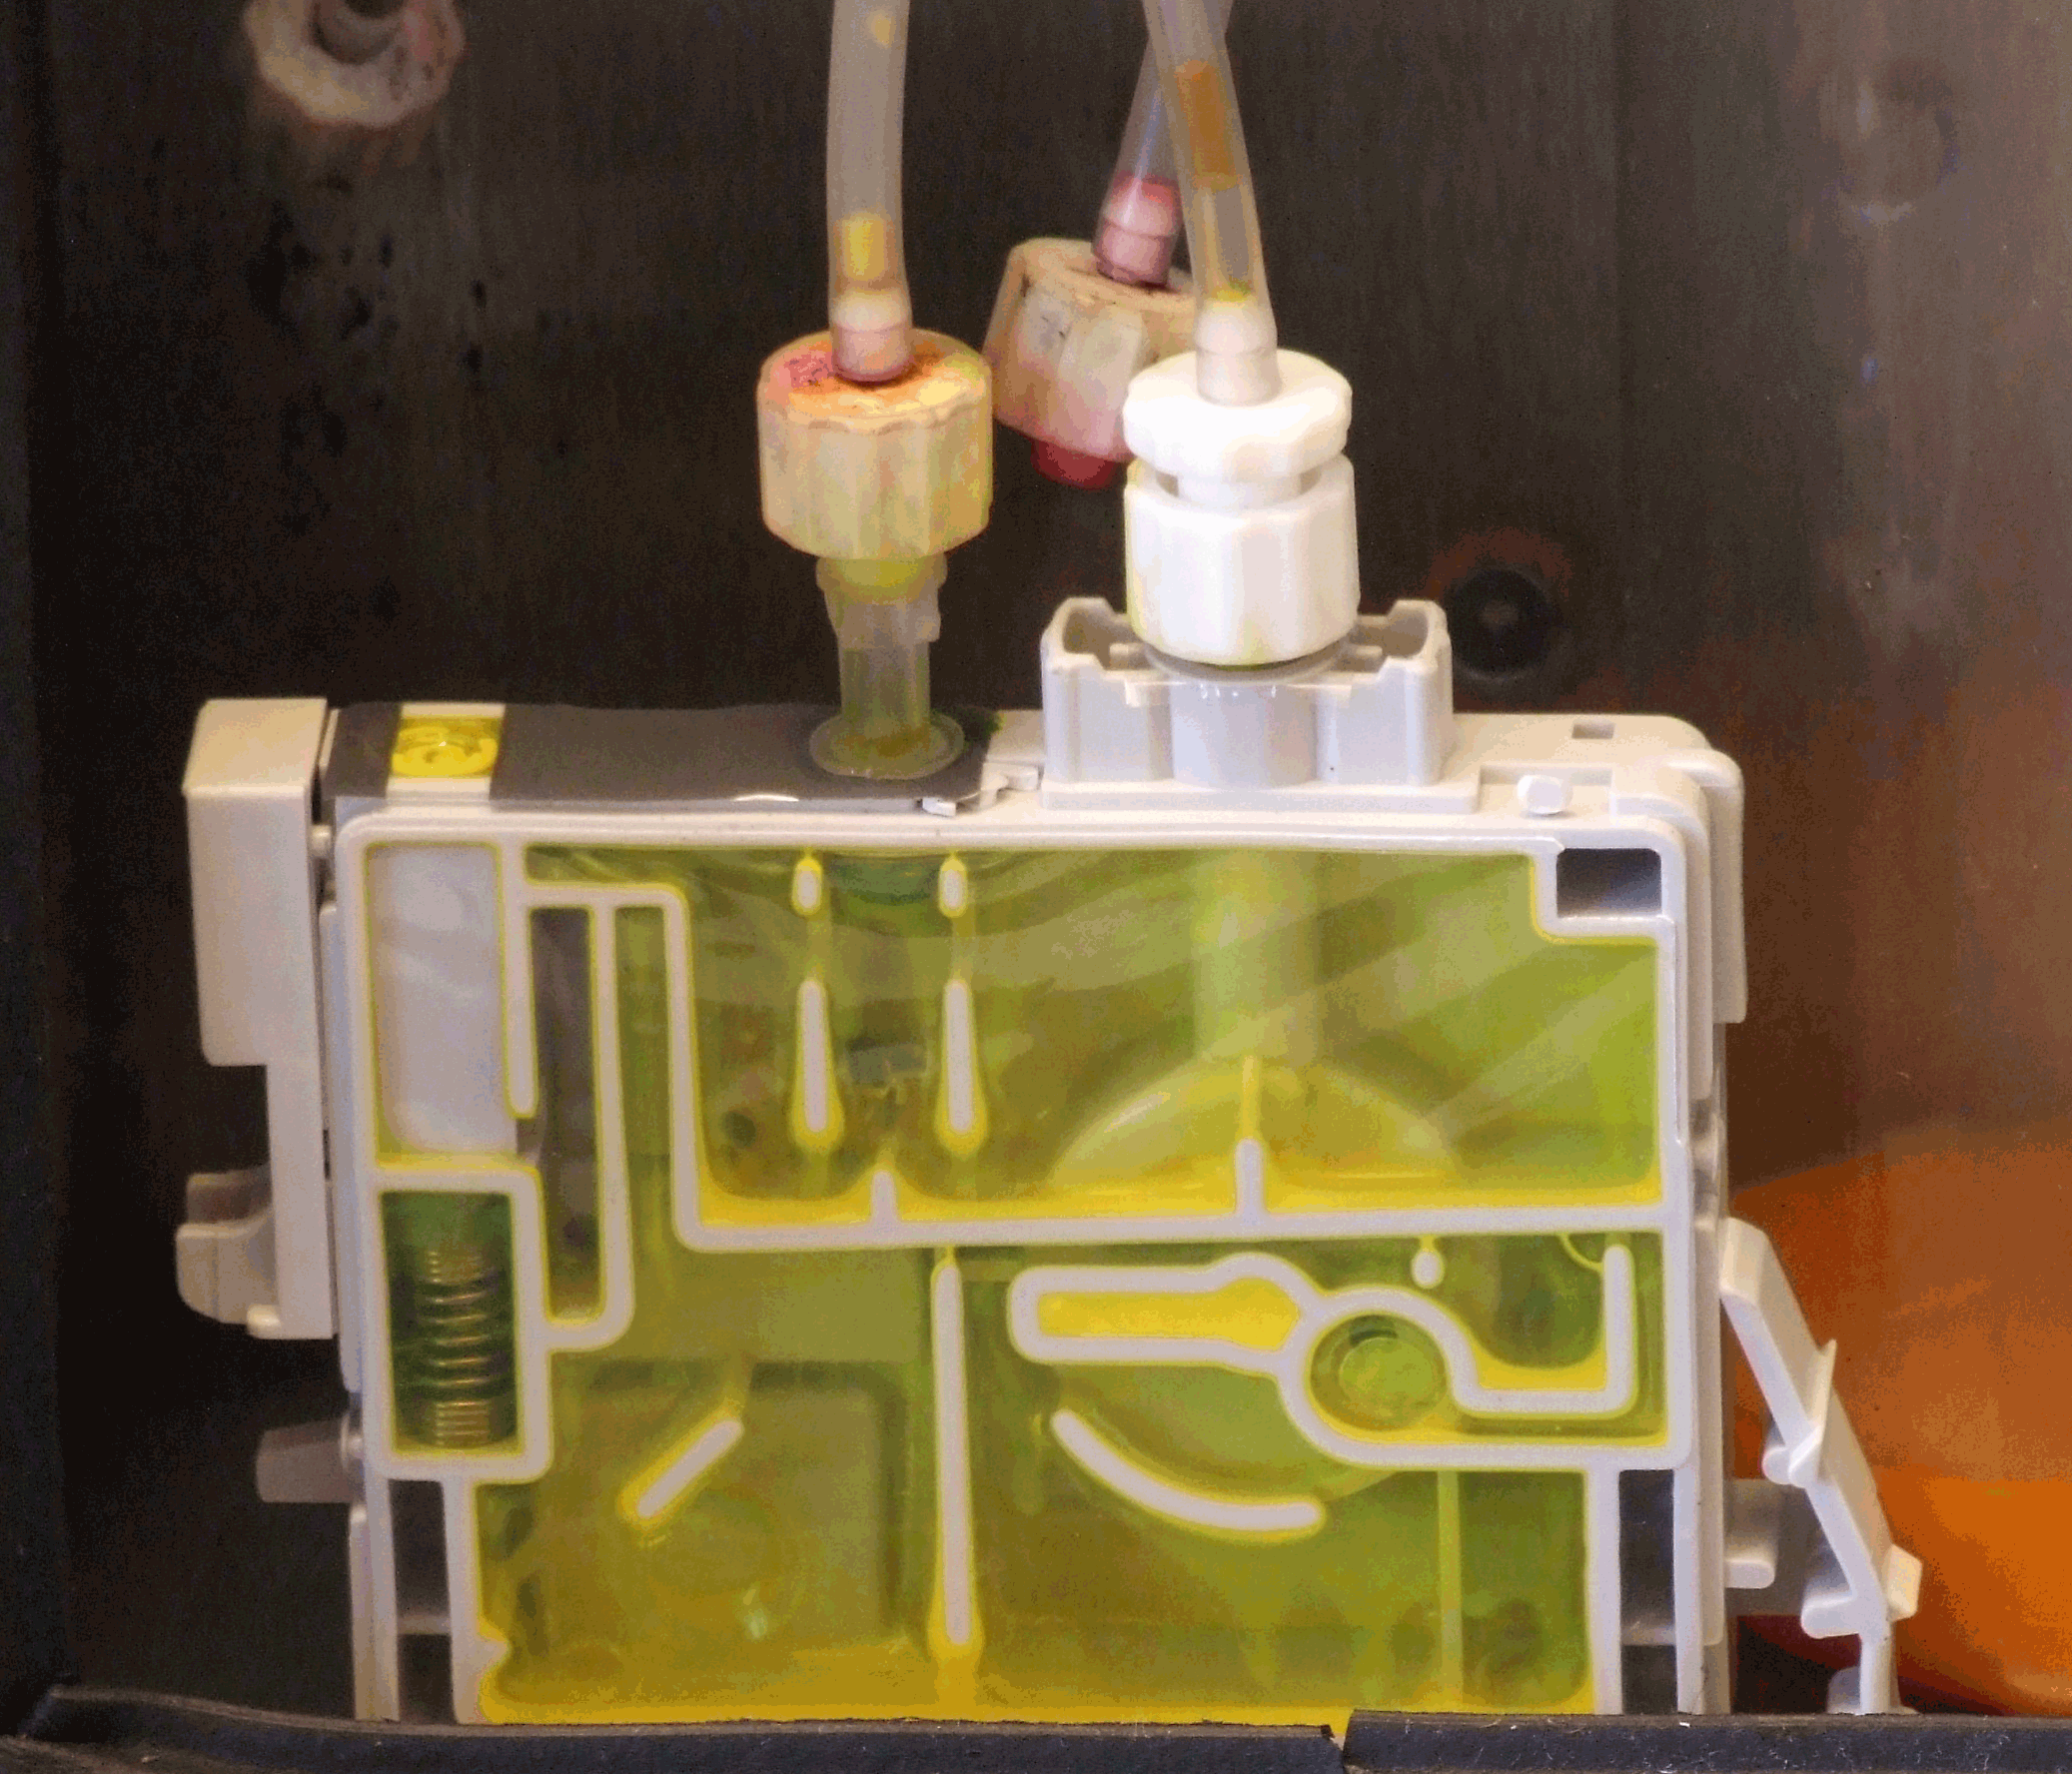
Place the cartridge and waste bottle in the vacuum cradle. Fit the filling tip into the plug valve* firmly, and push the waste pipe fitting into the delivery nozzle of the cartridge as shown. It is important that the cartridge is level otherwise it may not properly fill. |
|||||||||||||||||||||||
 |
|||||||||||||||||||||||
|
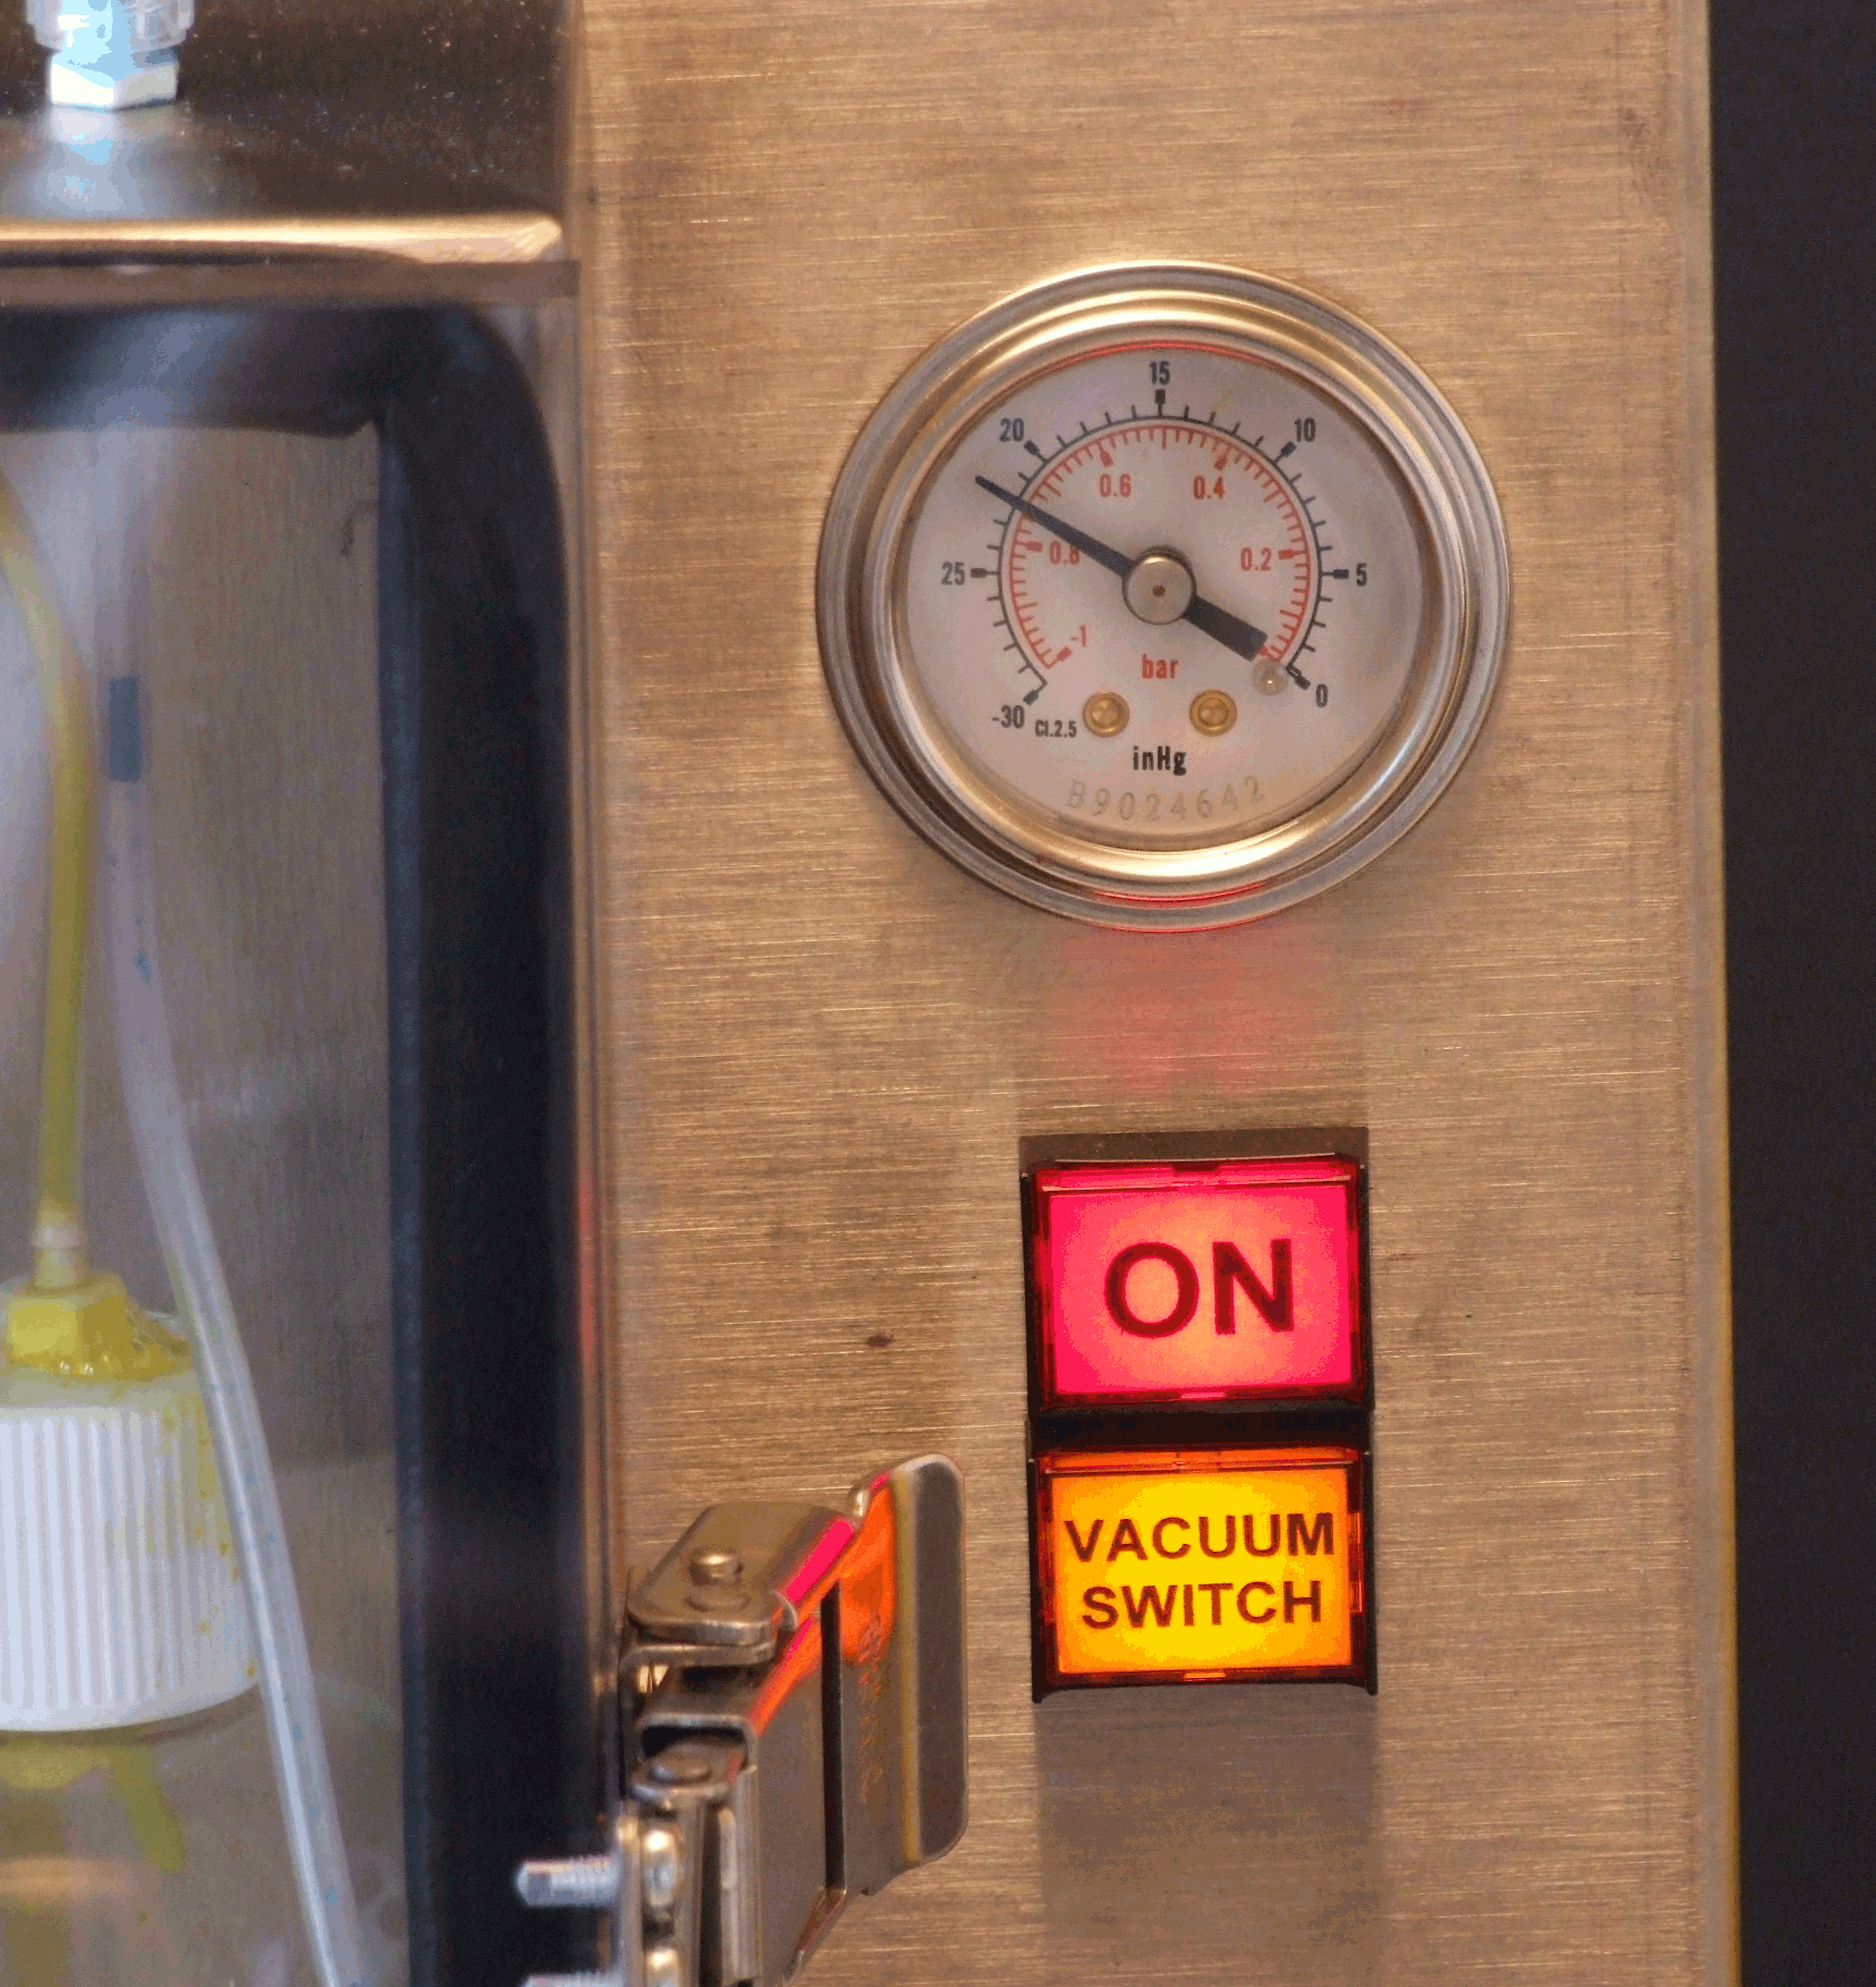
Close the cradle door and switch on the vacuum. When the vacuum has reached any point between 20”Hg or 25”Hg, you can start to fill the cartridge. DO NOT exceed 25”Hg otherwise you risk boiling the ink. |
|||||||||||||||||||||||
 |
|||||||||||||||||||||||
|
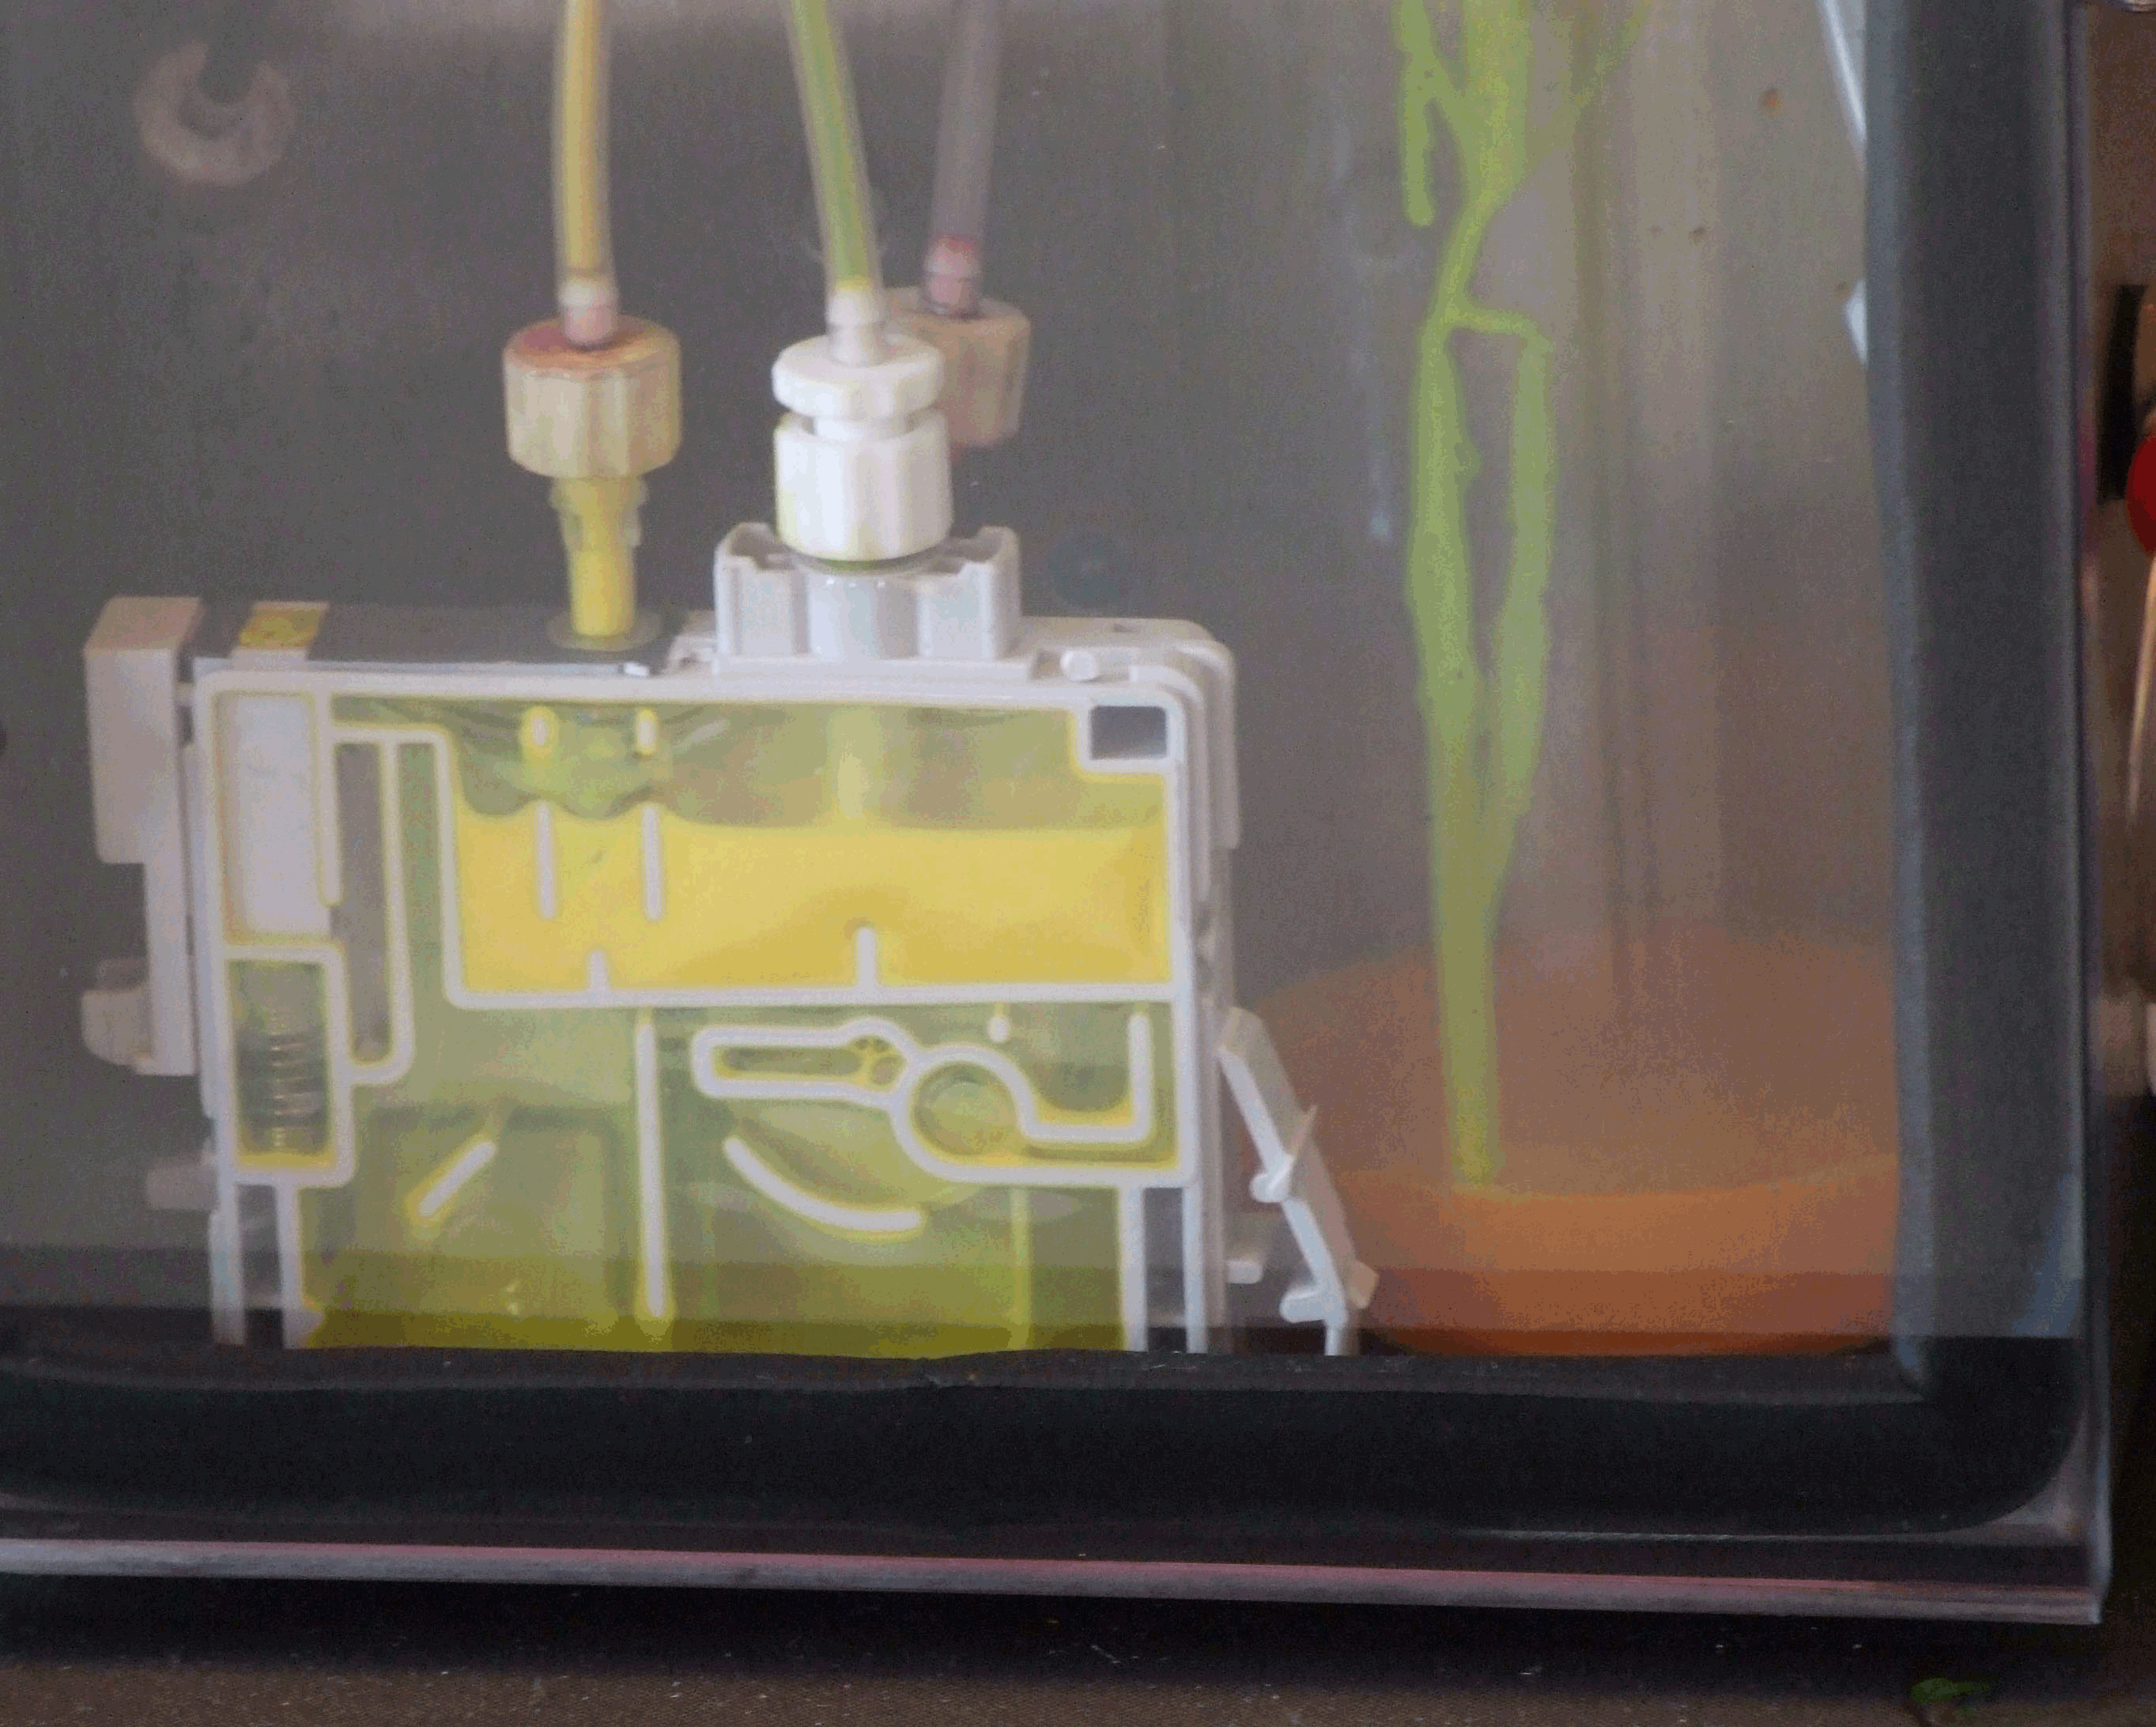
As you start filling the topmost chamber starts to fill first. You can see from the side of the waste bottle that the residual ink is being expelled. |
|||||||||||||||||||||||
 |
|||||||||||||||||||||||
|
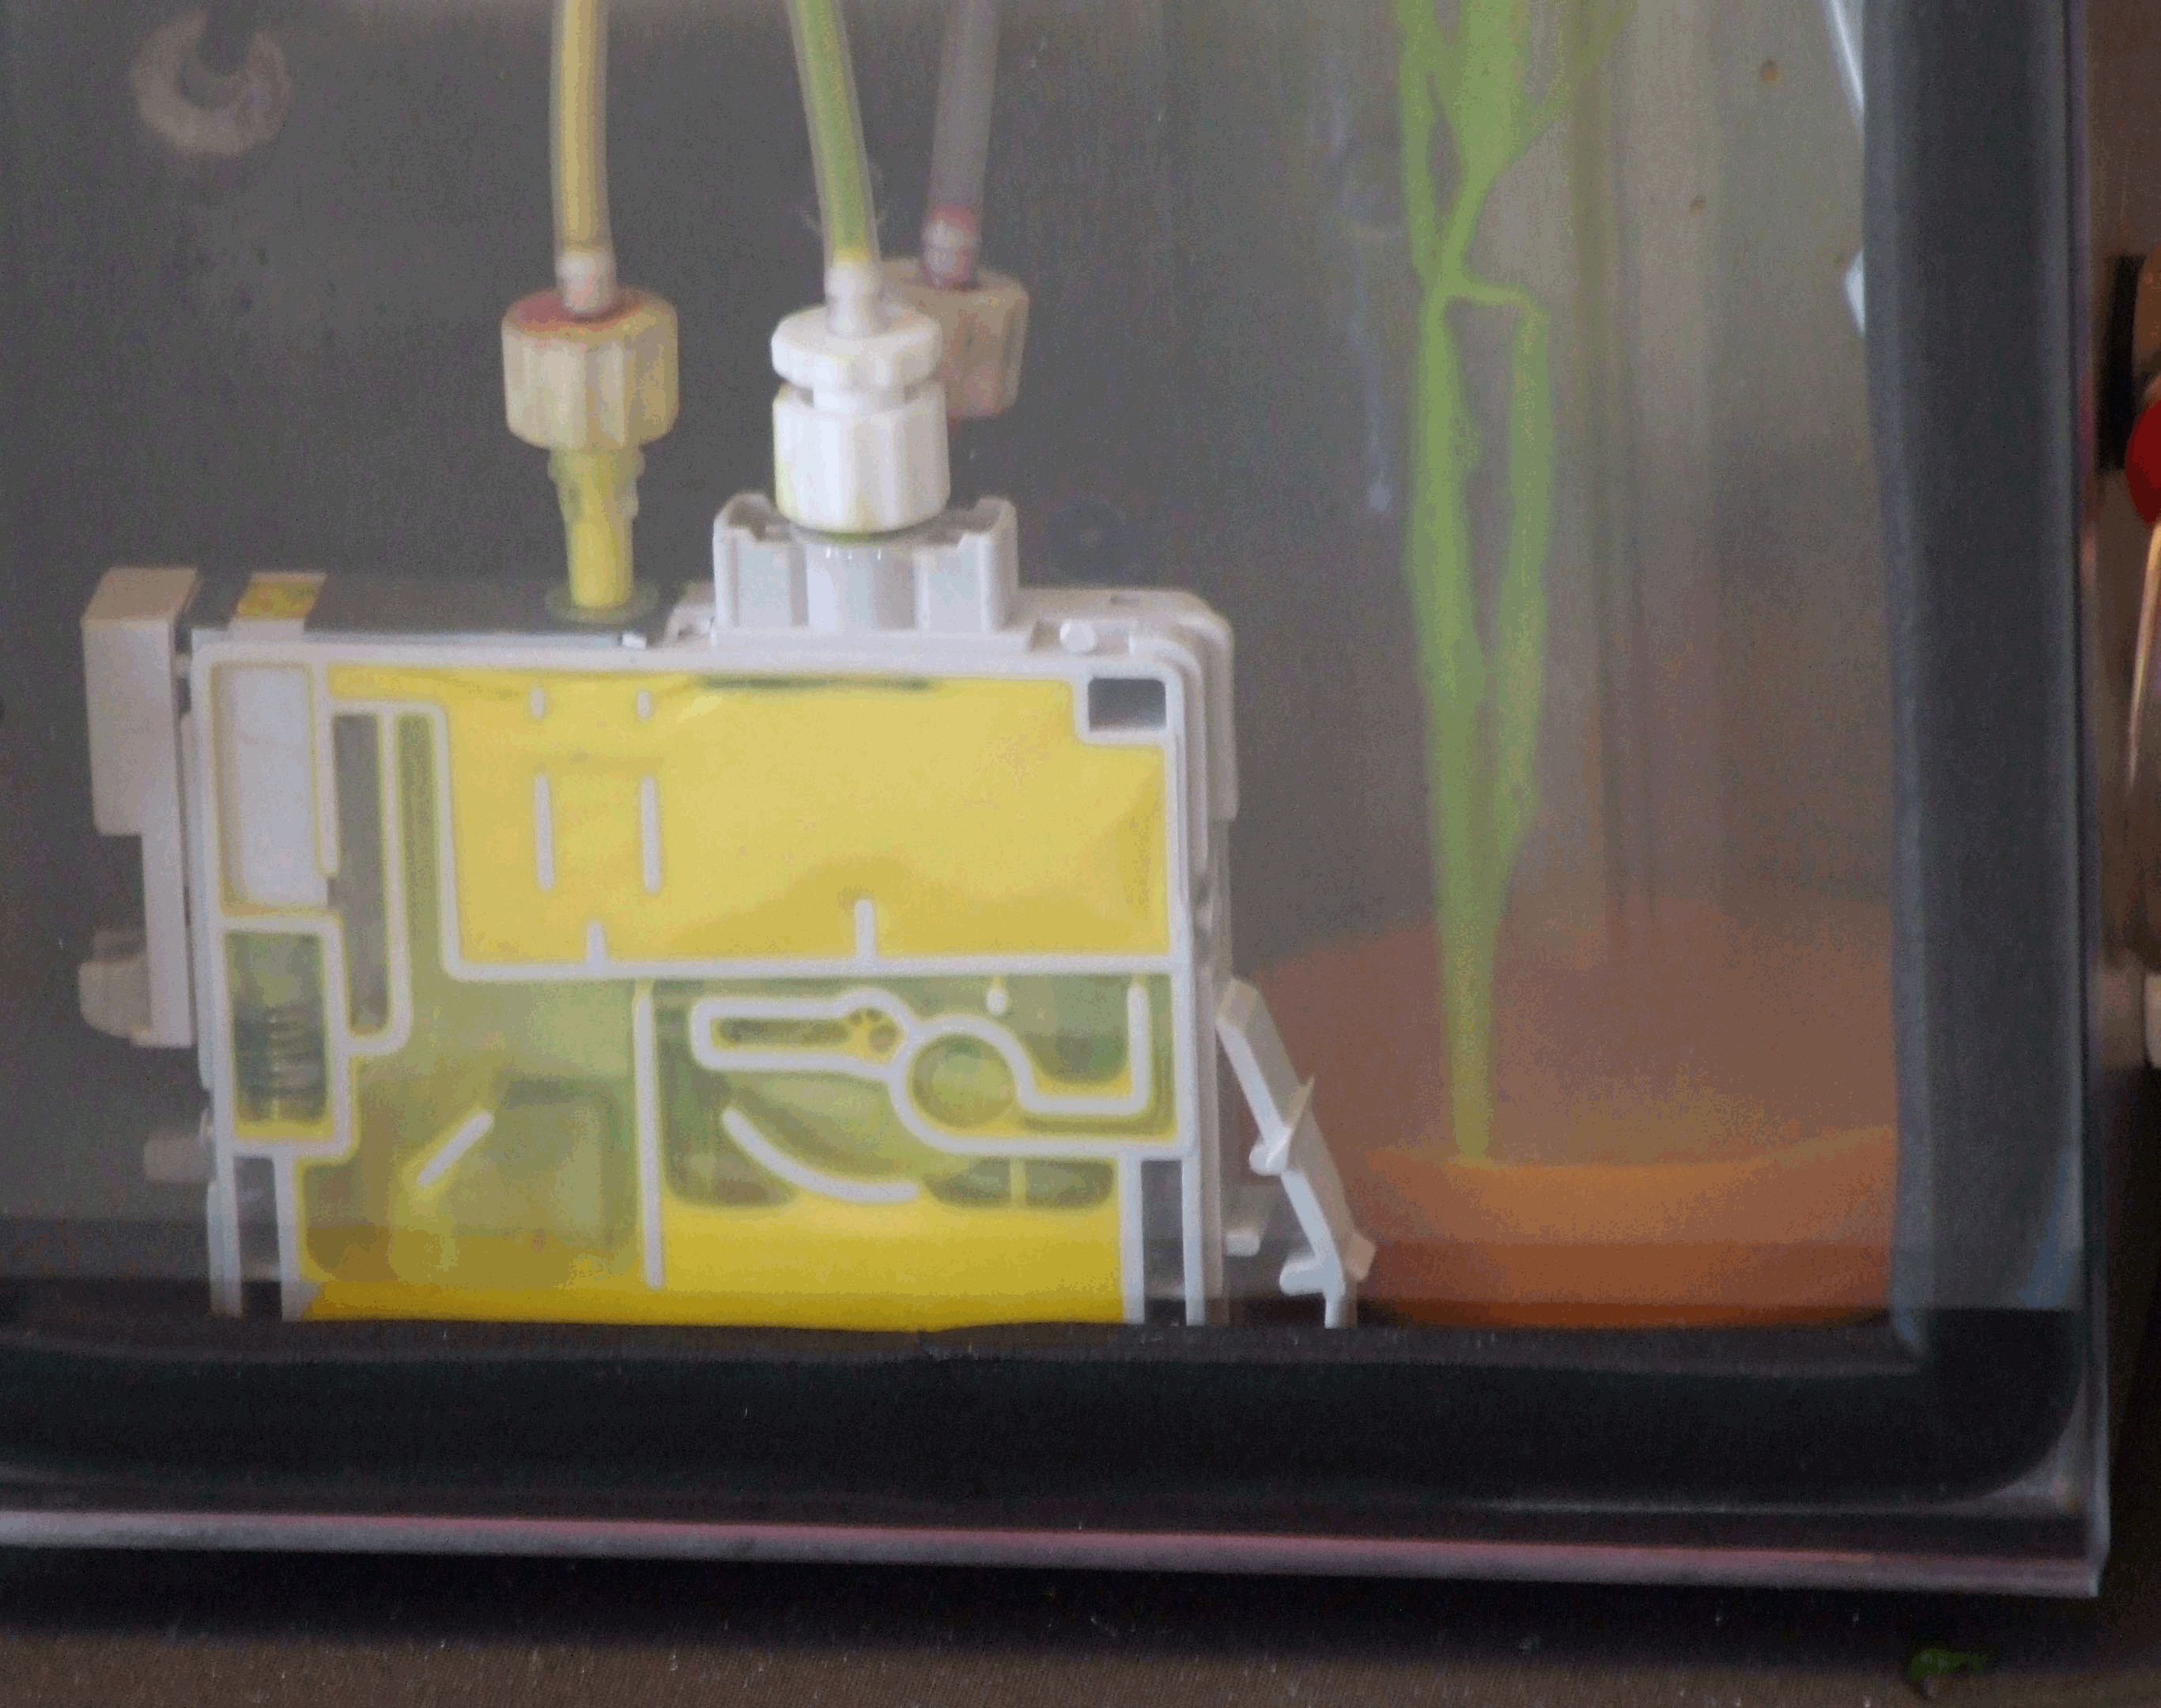
Now as the filling is just over halfway completed you can see the lower chamber starting to fill. The last of the residual ink has now been expelled. |
|||||||||||||||||||||||
 |
|||||||||||||||||||||||
|
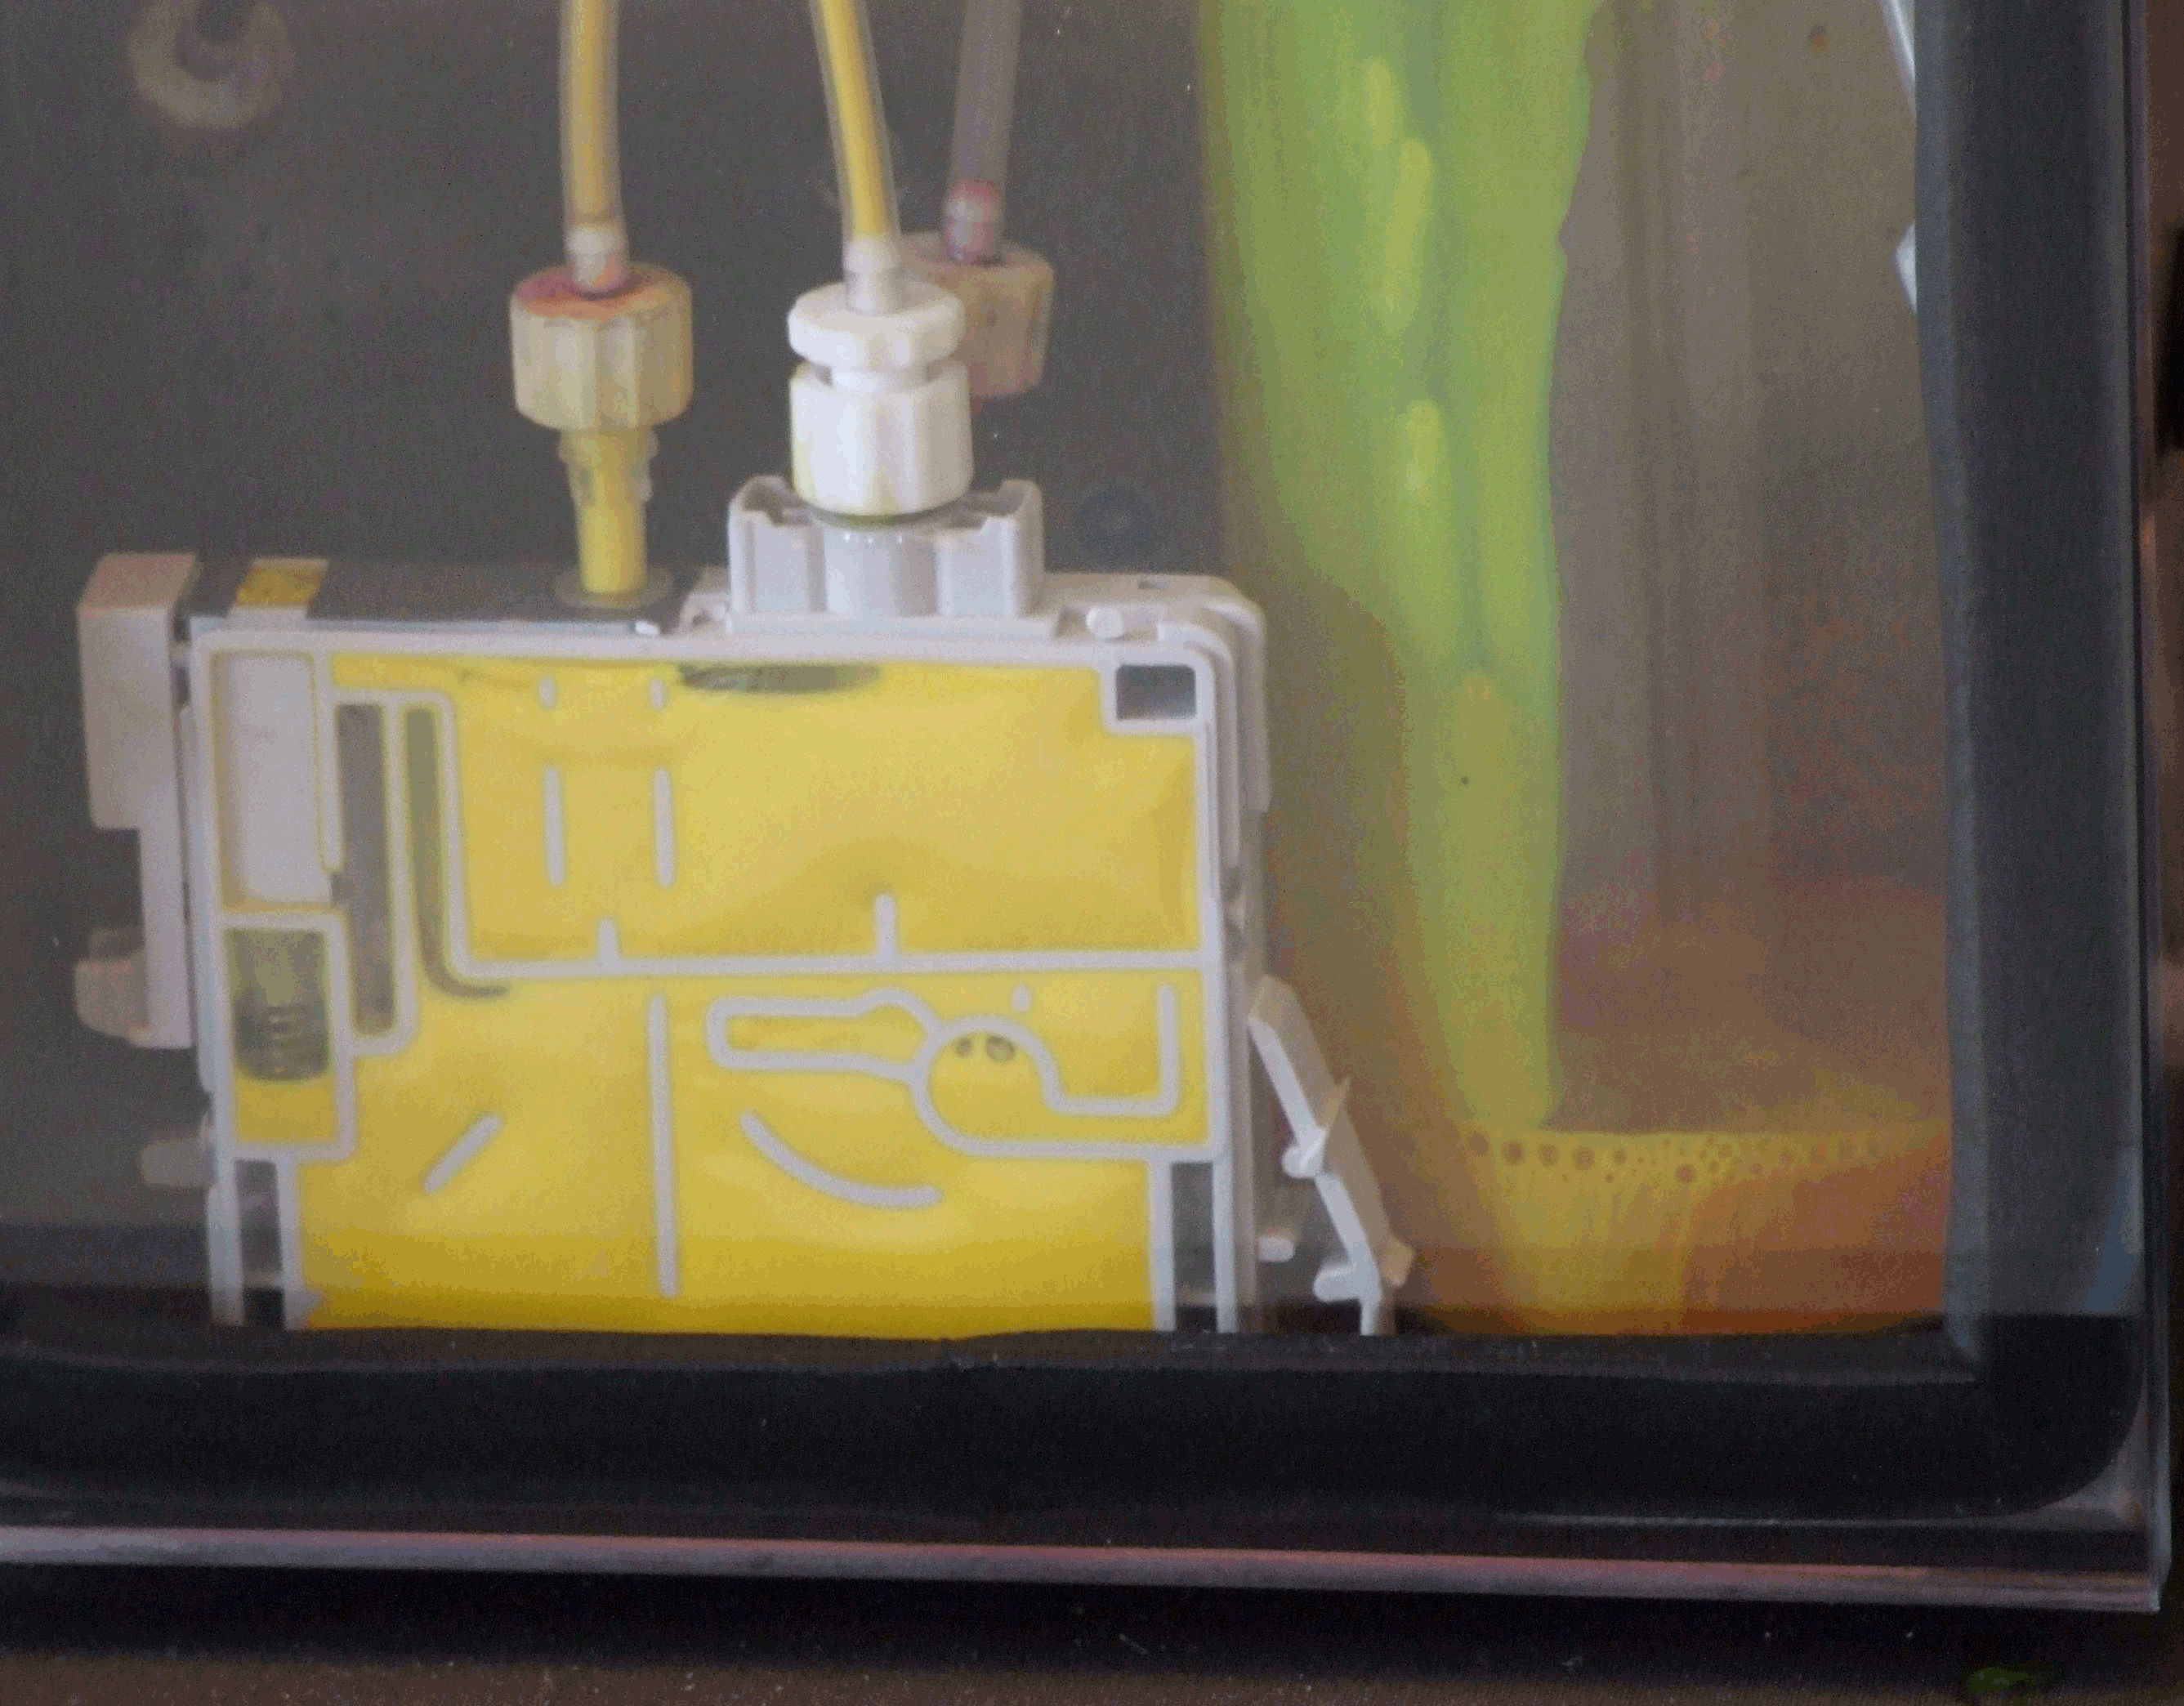
Filling of the cartridge is almost complete. You can now see that nearly all the air has been expelled from the cartridge. |
|||||||||||||||||||||||
 |
|||||||||||||||||||||||
|
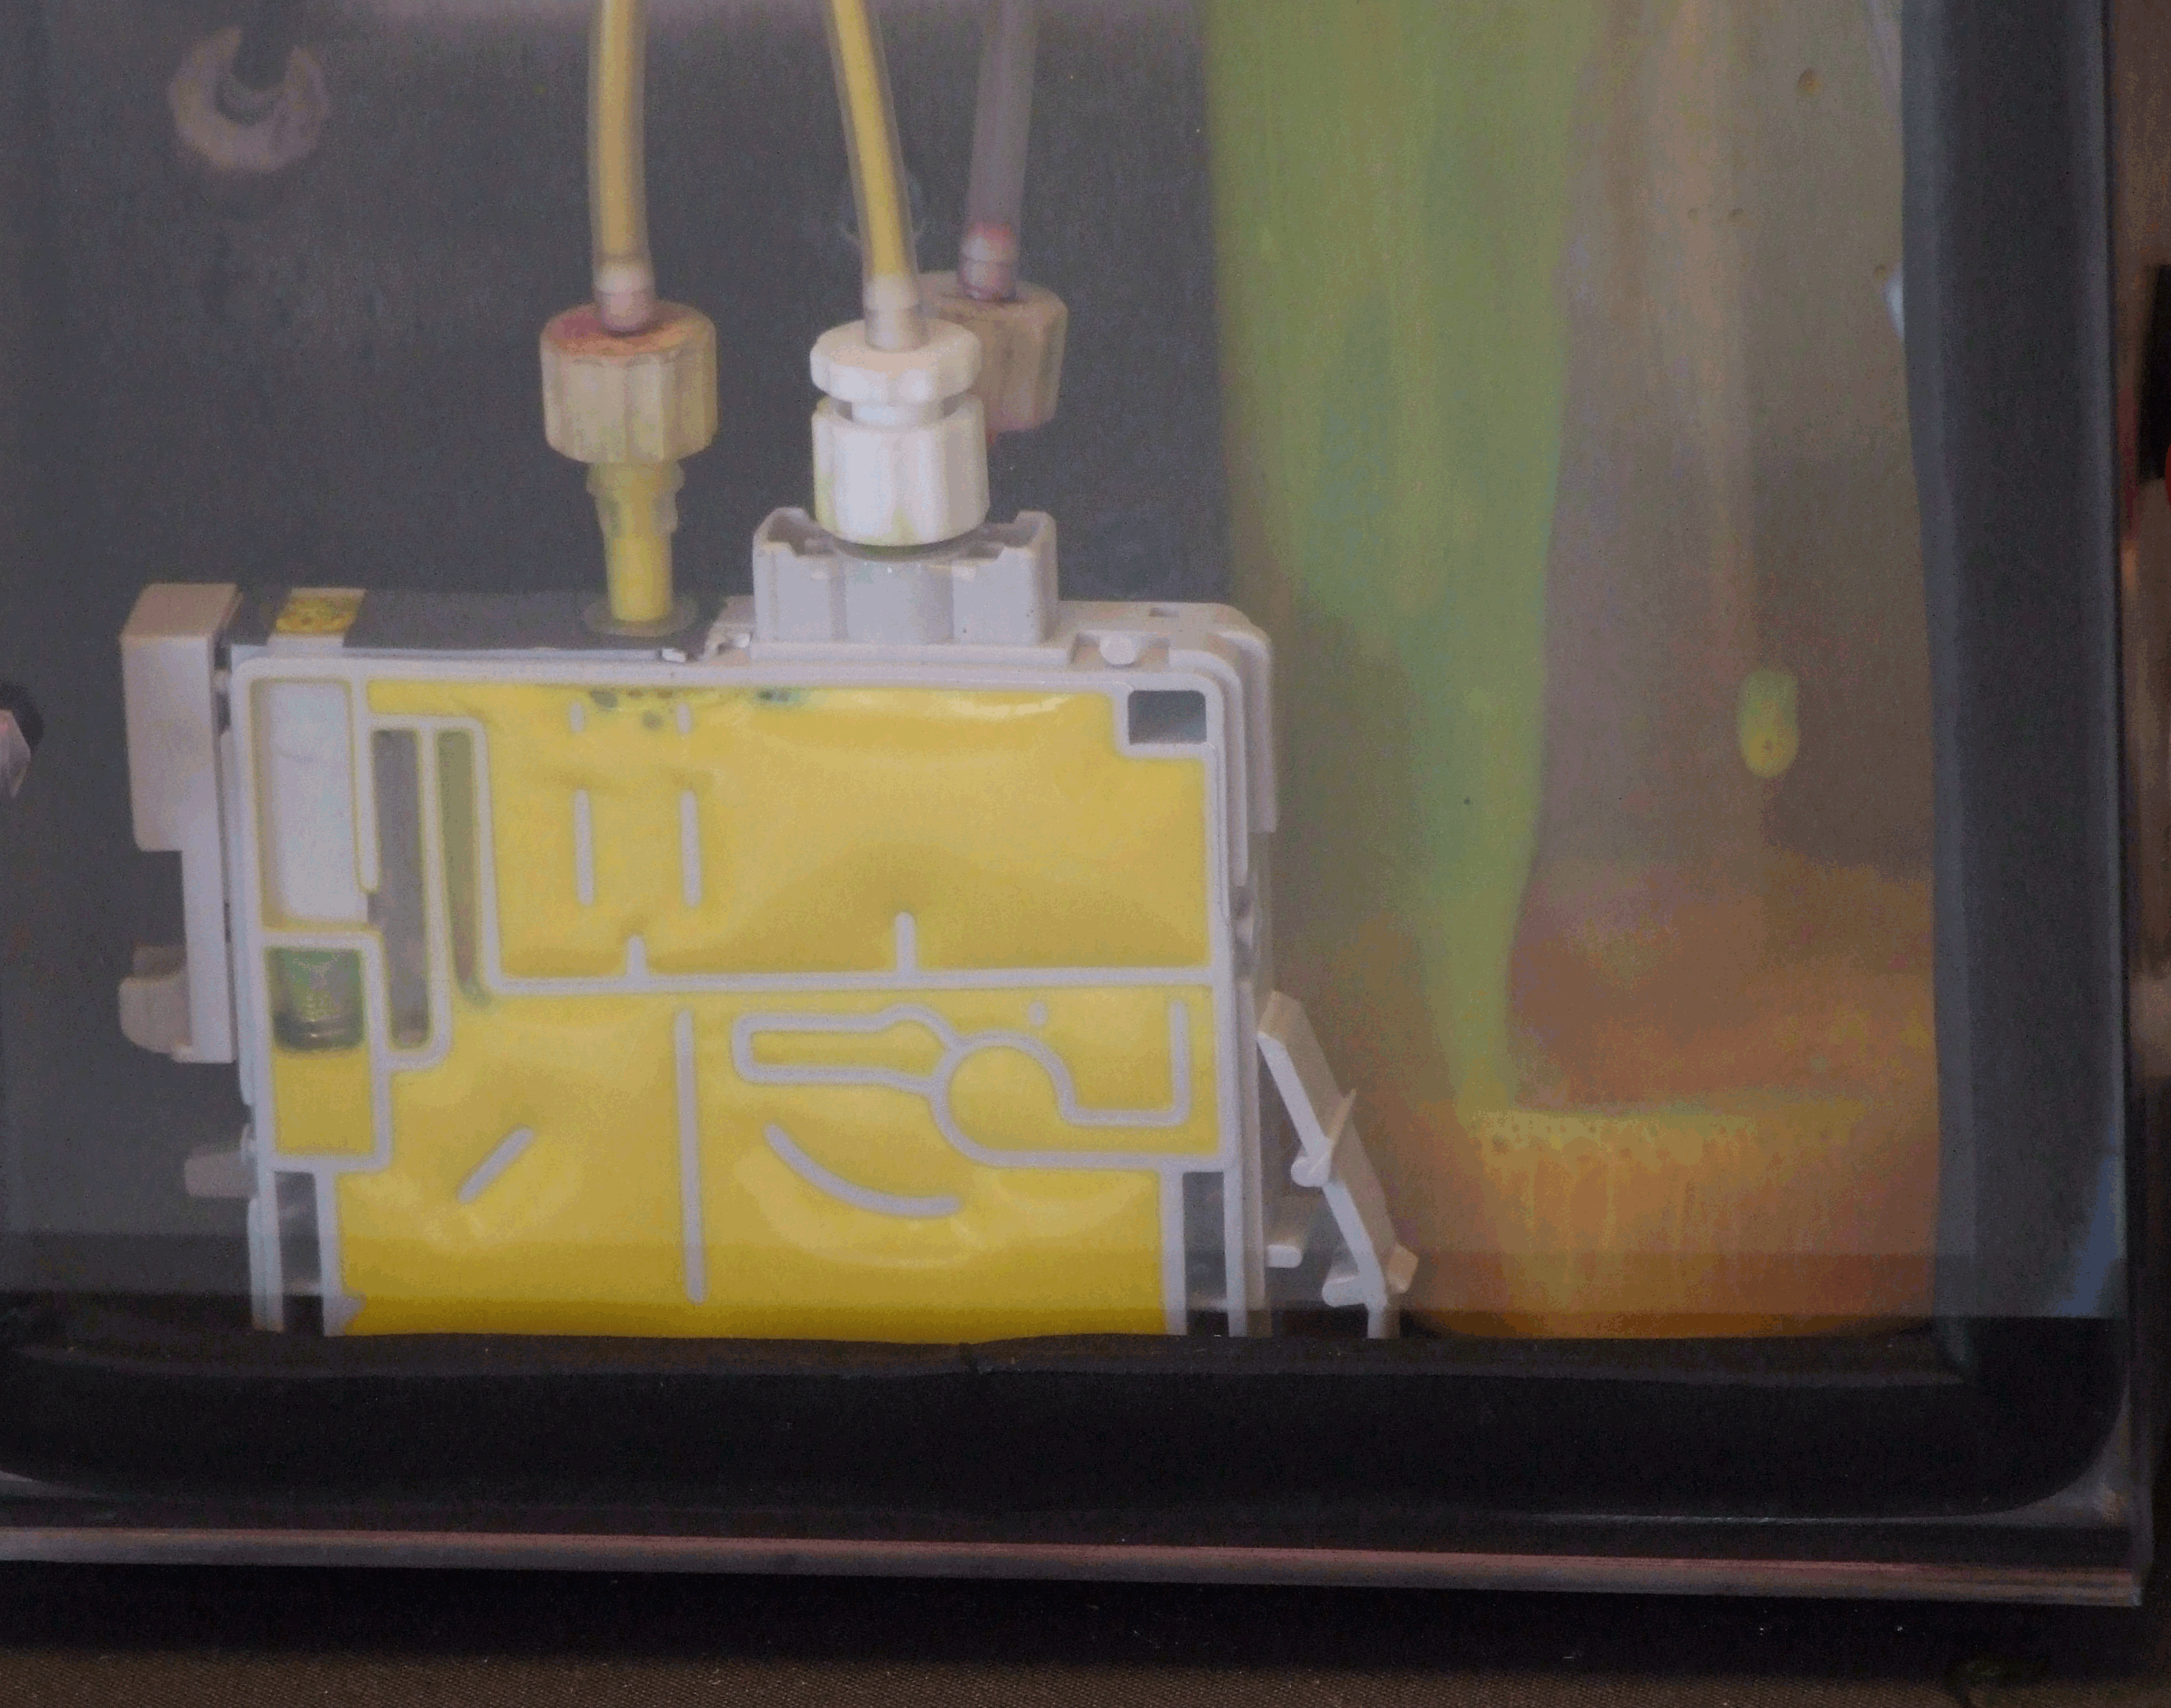
The cartridge is fully filled and the vacuum can be released from the cradle. All of the air has been expelled from the cartridge in the places that matter, and the cartridge has been properly primed. |
|||||||||||||||||||||||
|
The cartridge can now be removed from the cradle. Wipe any ink spots from the plug valve* and the delivery nozzle. Press down on the grey sealing ring inside the delivery nozzle to ensure it is correctly seated. Reset the chip with the appropriate re-setting tool. Re-label the cartridge covering the OEM label. Job done! Your cartridge is now ready for your customer. |
|
|
||||||||||||||||||||||||||||||||||||||||||||||||||||||||||||||
| [Home] [Press Releases] [Pricing] [Lectures] [Testimonials] |
|
Copyright 2006, 2007 Promax Imaging Ltd. All references to trademarks and registered names on this website are for identification purposes only and do not imply a relationship with any such manufacturer. |
