Promax Imaging Ltd

14-16 Uttoxeter Rd
UPPER TEAN
Staffs
ST10 4LG UK

Tel:
+44 (0) 1538
722121

Fax:
+44 (0) 1538
724327


Contact Us

Group One 32x Series
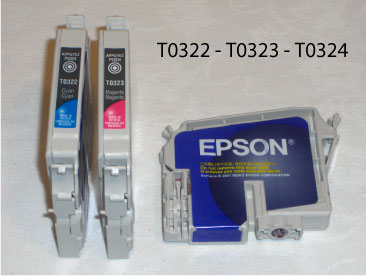
T0322-3-4J
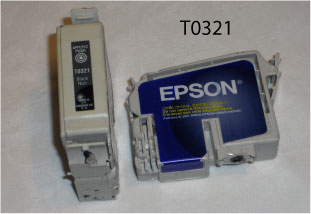
T0321J

Group One Data Table

Don’t Understand the Data Table? 
Click Here for an Explanation

Cartridge No

Colour

OEM Full Wt

Empty Wt from Printer

True Empty Wt

OEM Fill

Ink Delivered

OCP Ink Reference

T0321

Black

69.10g

39.45g

34.20g

34.90g

29.65g

BKP45

T0322

Cyan

41.20g

29.50g

24.70g

16.50g

11.70g

CP115

T0323

Magenta

41.10g

30.50g

24.70g

16.40g

10.60g

MP115

T0324

Yellow

41.20g

29.15g

24.70g

16.50g

12.05g

YP115

T0321 FillholeJ

Fitting the Plug Valve*

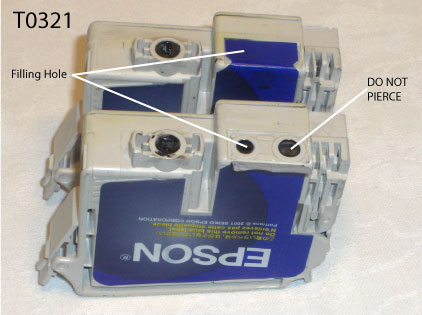
The filling hole of this group is shown in the picture left. Please do not pierce the membrane sealing the left hand hole. If you do, then the cartridge is ruined.
Note that we have peeled back the label to give you a clearer view of what the filling hole looks like.
Do not peel the label back on cartridges you intend to refill.
The side casing of this cartridge cannot be removed without destroying the cartridge…..so don’t try it.

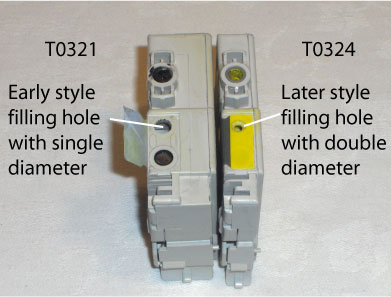
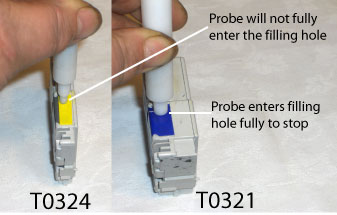
We have discovered changes made to the body of this cartridge since it was originally introduced as the first of the Mkll Epson cartridges. This change was made to the filling hole in the base of the cartridge. In the first versions the filling hole had a single diameter. On the latest version the filling hole has two concentric diameters. This means we have to drill out the hole to the correct size to take the Plug valve*.

Holes DifferJ
Probe UseJ

To determine if the cartridge needs to be drilled, push the probe from the accessory kit into the filling hole. If it goes all the way home then drilling is not required.

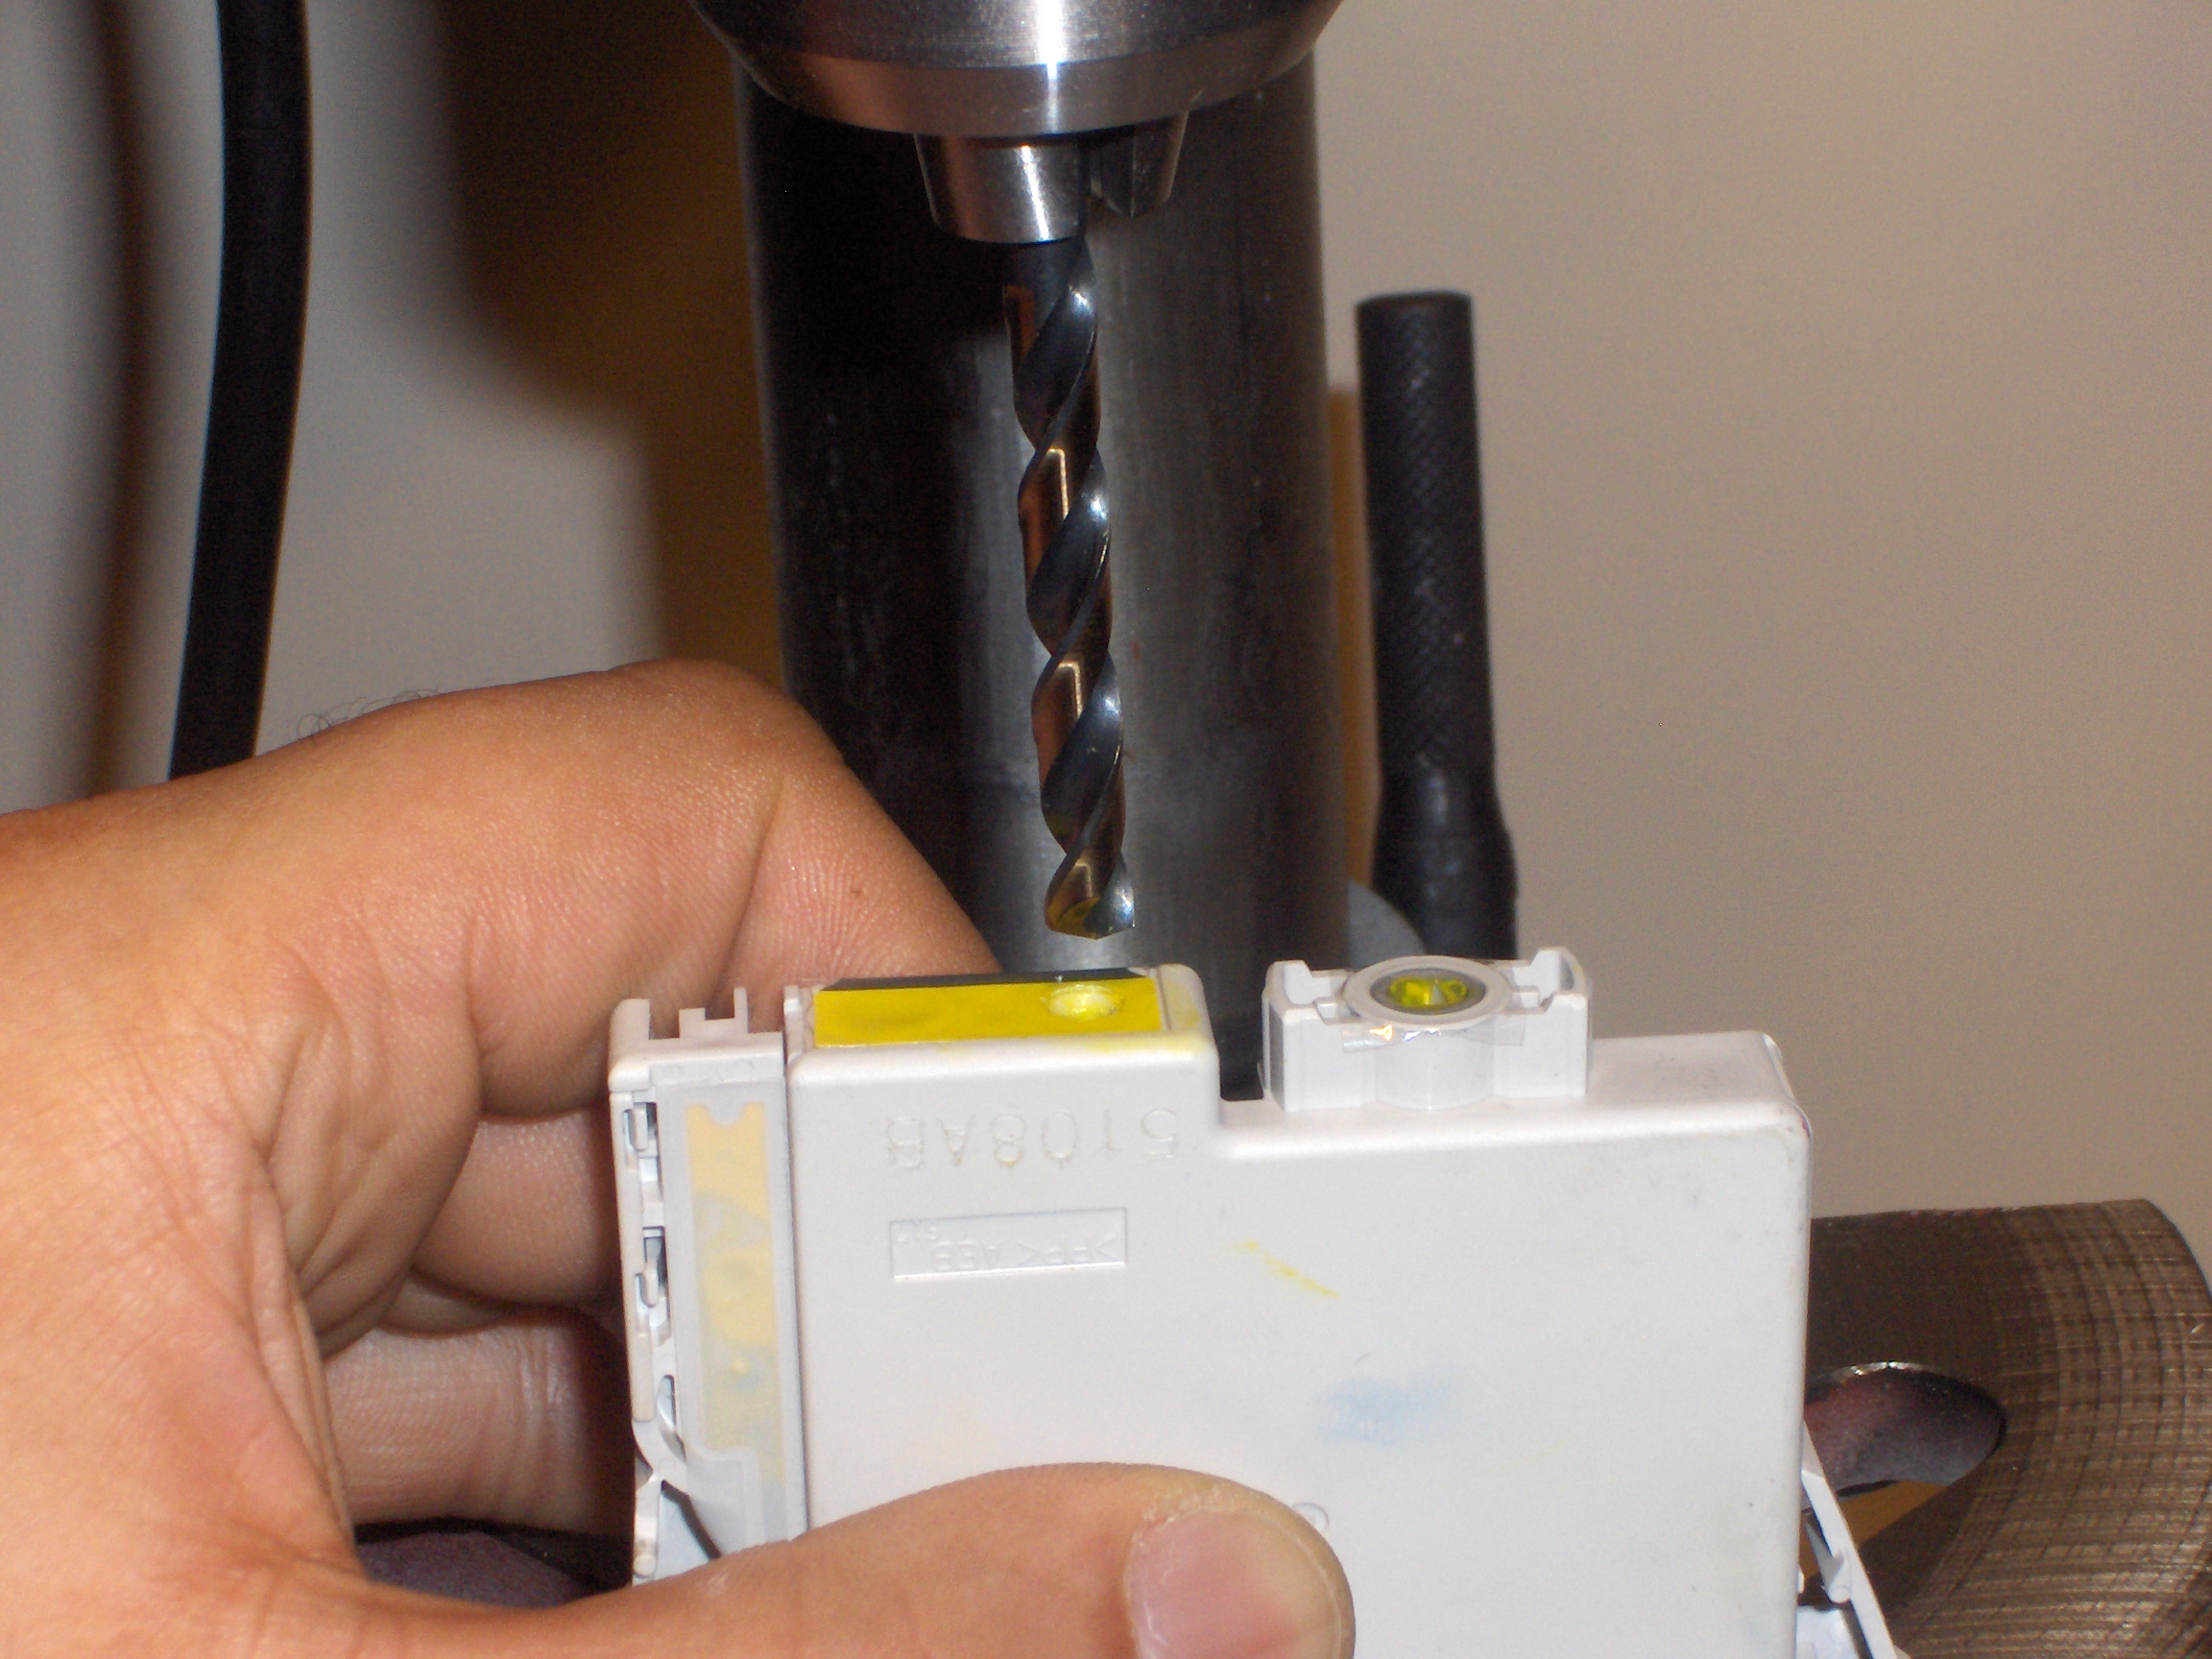
If the cartridge needs to be drilled, use the drill from the accessory kit. This has a stop fitted to the correct depth. If you drill too deeply the cartridge will be ruined.
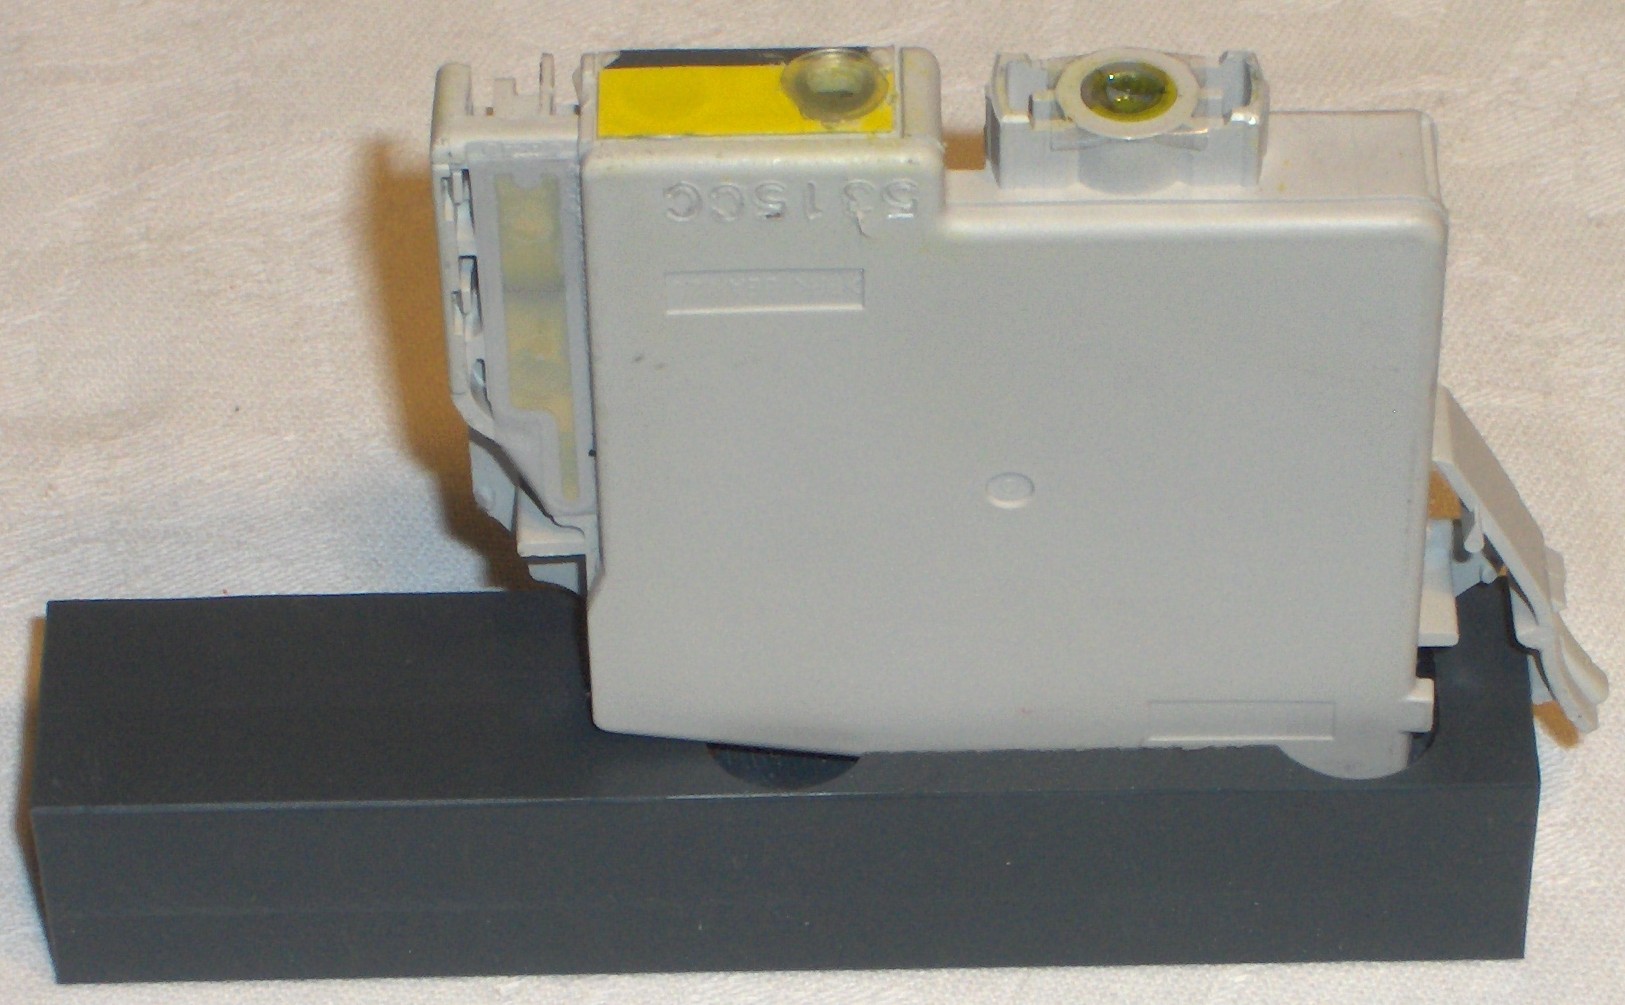
Fit the Plug valve* in the filling hole and ensure it is pressed all the way home.
Professor Promax recommends the use of a bench drill press to drill the cartridge. This ensures that the hole is drilled true and not distorted.

DrillingJ

Place the Plug Valve* in the filling hole and firmly press it in. Please ensure it is pushed all the way home to properly seat and seal the Plug Valve* in the cartridge.

Stand AJ

Filling the Cartridge

Install the cartridge in stand “A” from the optional accessories available.

OR

Place the cartridge in a vice (preferably with protection around the cartridge) so that the base of the cartridge is level…..very important.

If you are using a luer-lok syringe then fit the syringe adaptor to the end of the syringe.

It is good re-filling practice to remove all residual waste ink before refilling a cartridge. The refilling process utilised with the Promax Plug Valve* takes care of this job as you refill the cartridge. However, if you want to recover the excess ink used in the refilling process, this is what you do. Follow the instructions below, using an empty syringe filled with air, BUT hold the cartridge the other way up. Steadily inject the air into the cartridge. This expels the residual waste ink.

Change the waste bottle for a clean one and follow the refilling steps below. The bottle now contains your fresh excess ink which can be re-used.

If you are refilling a number of cartridges at a time, it is a good idea to purge the waste ink from them all first. Remember to wipe the nipple of the waste line before plugging it into a different colour cartridge to prevent contamination of the colours.

Fill a syringe with the correct type of ink, allowing about 15ml more than the OEM fill amount shown in the data table. You can recover this excess from the waste bottle after filling. Expel any excess air from the syringe, up to 2ml of air in the syringe is ok. 5ml of air is about the amount of air the OEM filled cartridge contains.

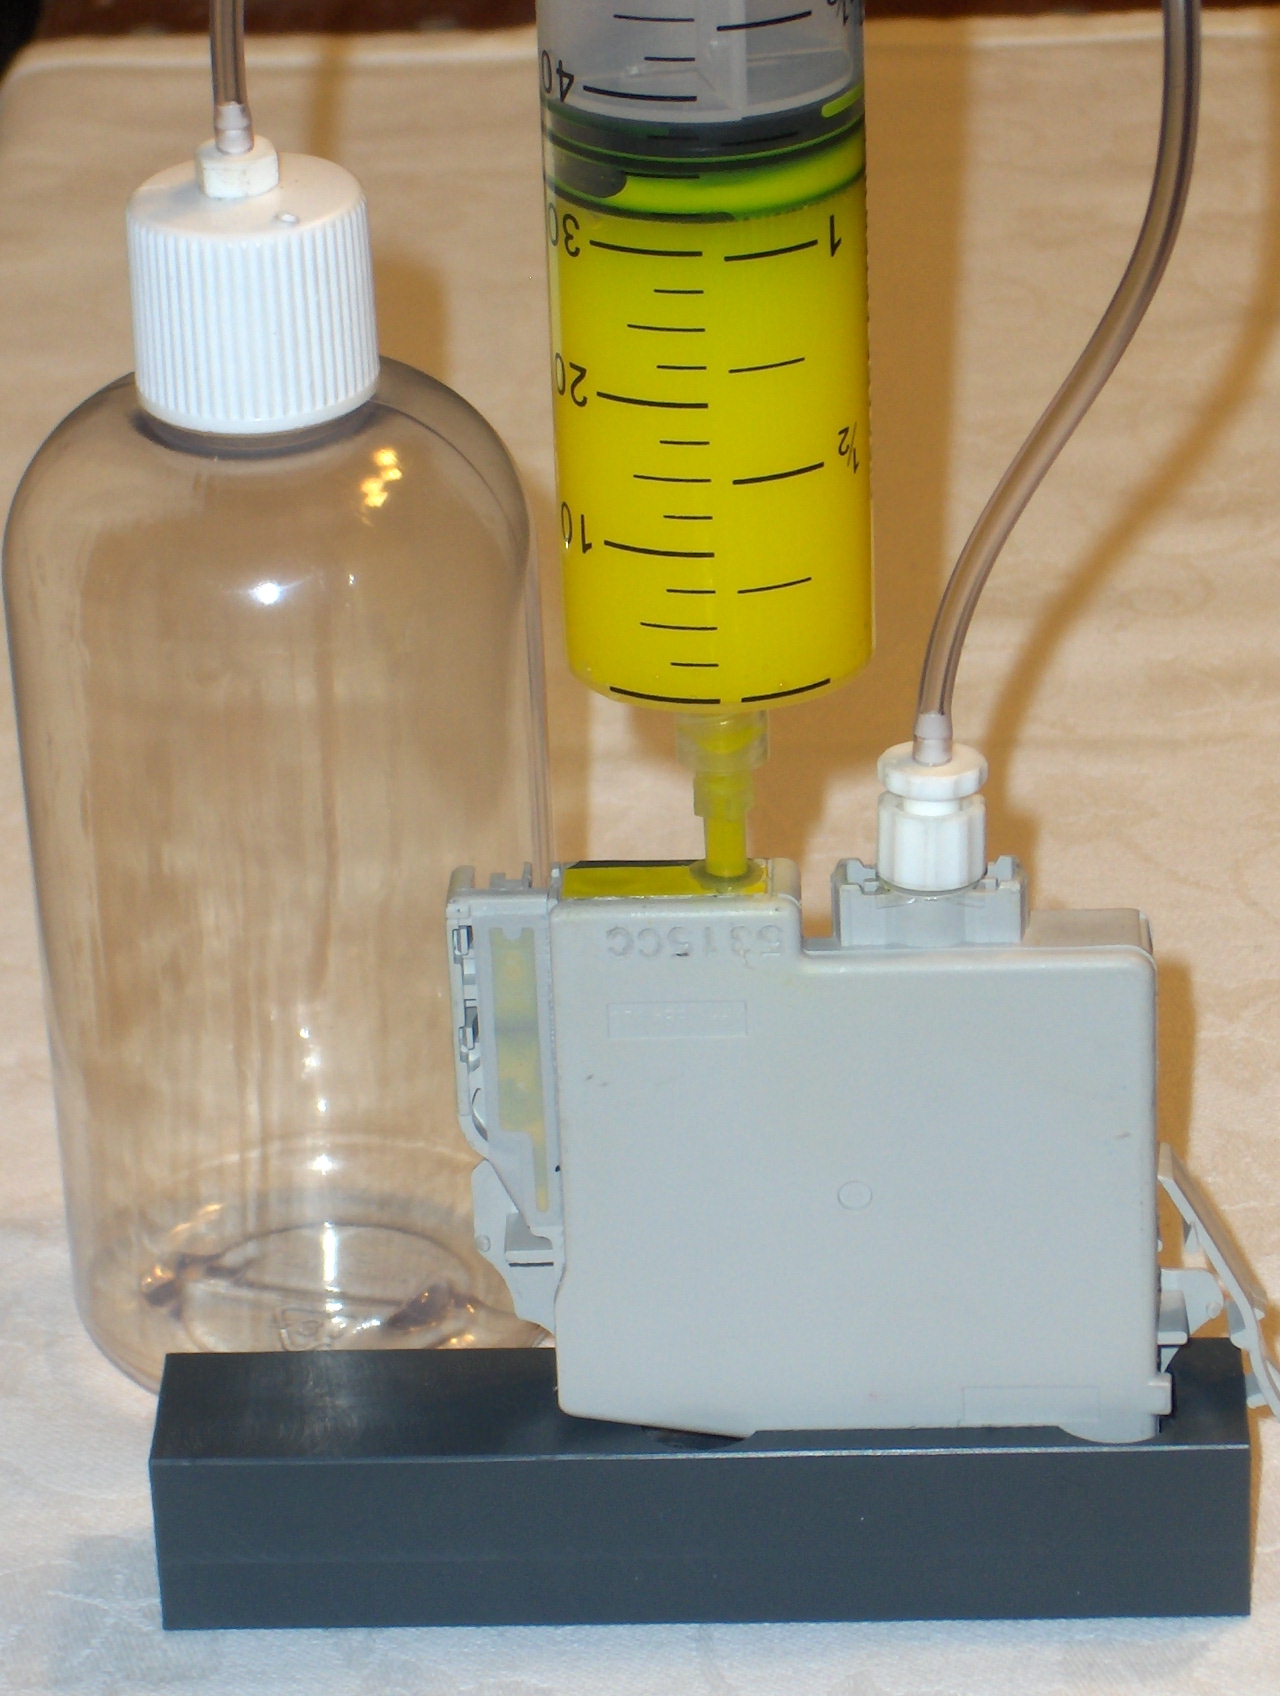
Fit the syringe into the Plug valve* ensuring a firm snug fit and place the waste tube into the delivery outlet of the cartridge ensuring it is fully home.

Slowly inject ALL but 5ml of ink into the cartridge. When the last 5ml of ink (and any air) is in the syringe, fill swiftly. This will help prime the cartridge.

FillingJ

When the ink enters the cartridge the old ink is expelled through the waste pipe, followed by the air. After all the air is expelled, a mixture of ink and air will be expelled, followed by pure ink. This ensures the cartridge is correctly primed.

Remove the waste pipe and syringe from the cartridge and wipe away ink drops. Ensure the black seal in the delivery nozzle of the cartridge is seated fully home by pressing on it.

Reset the chip using a seven point chip resetter.

The cartridge is now ready for use.

RE-LABEL THE CARTRIDGE TO MAKE IT CLEAR IT IS A REMANUFACTURED CARTRIDGE, PREFERABLY COVERING THE OEM LABEL.

22nd February 2007

[Home] [Press Releases] [Pricing] [Lectures] [Testimonials]

Copyright 2006, 2007 Promax Imaging Ltd. All references to trademarks and registered names on this website are for identification purposes only and do not imply a relationship with any such manufacturer.